No products


 Engine running-in - Max Power -
  Preparing your Xray NT1: Part 2
  How to prepare your XRAY NT1 for a race
 How to prepare your XRAY NT1 for a race
Published : 2020-11-27 10:07:54
Categories :
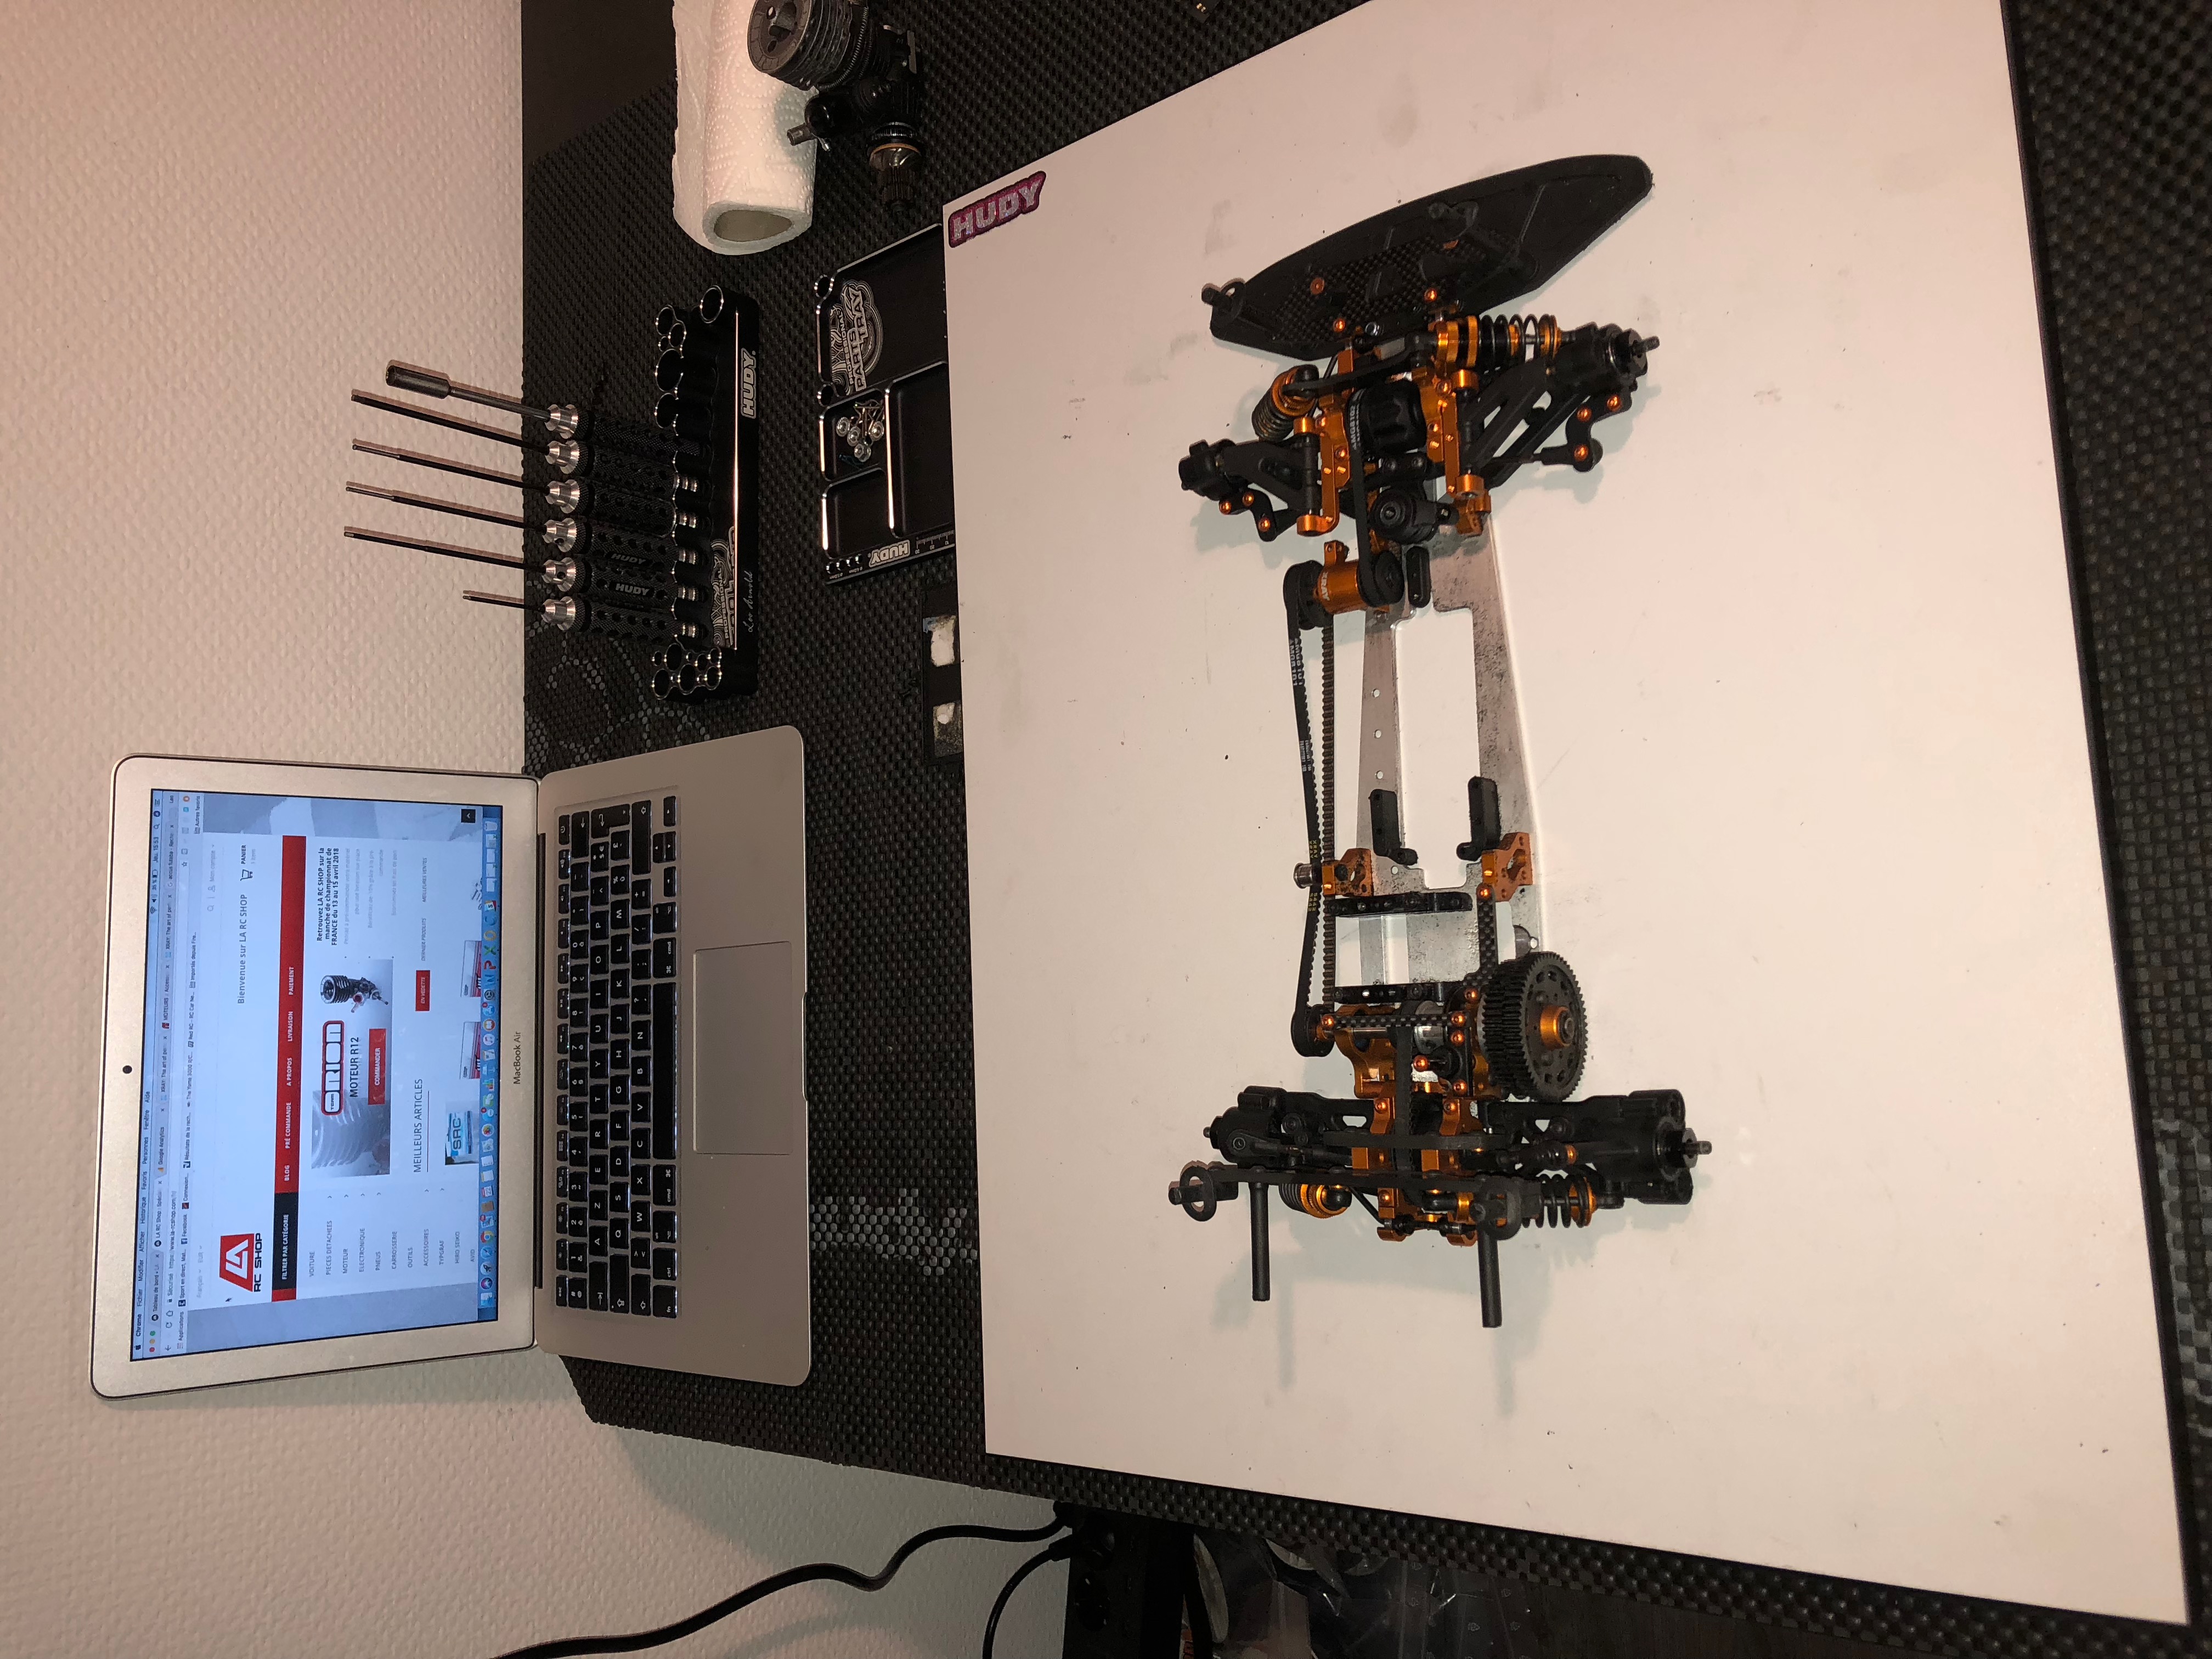
Through this article, you will discover step by step how to best prepare your XRAY NT1. It will also present all the optional parts we use to increase the car's performance.
Step 1:
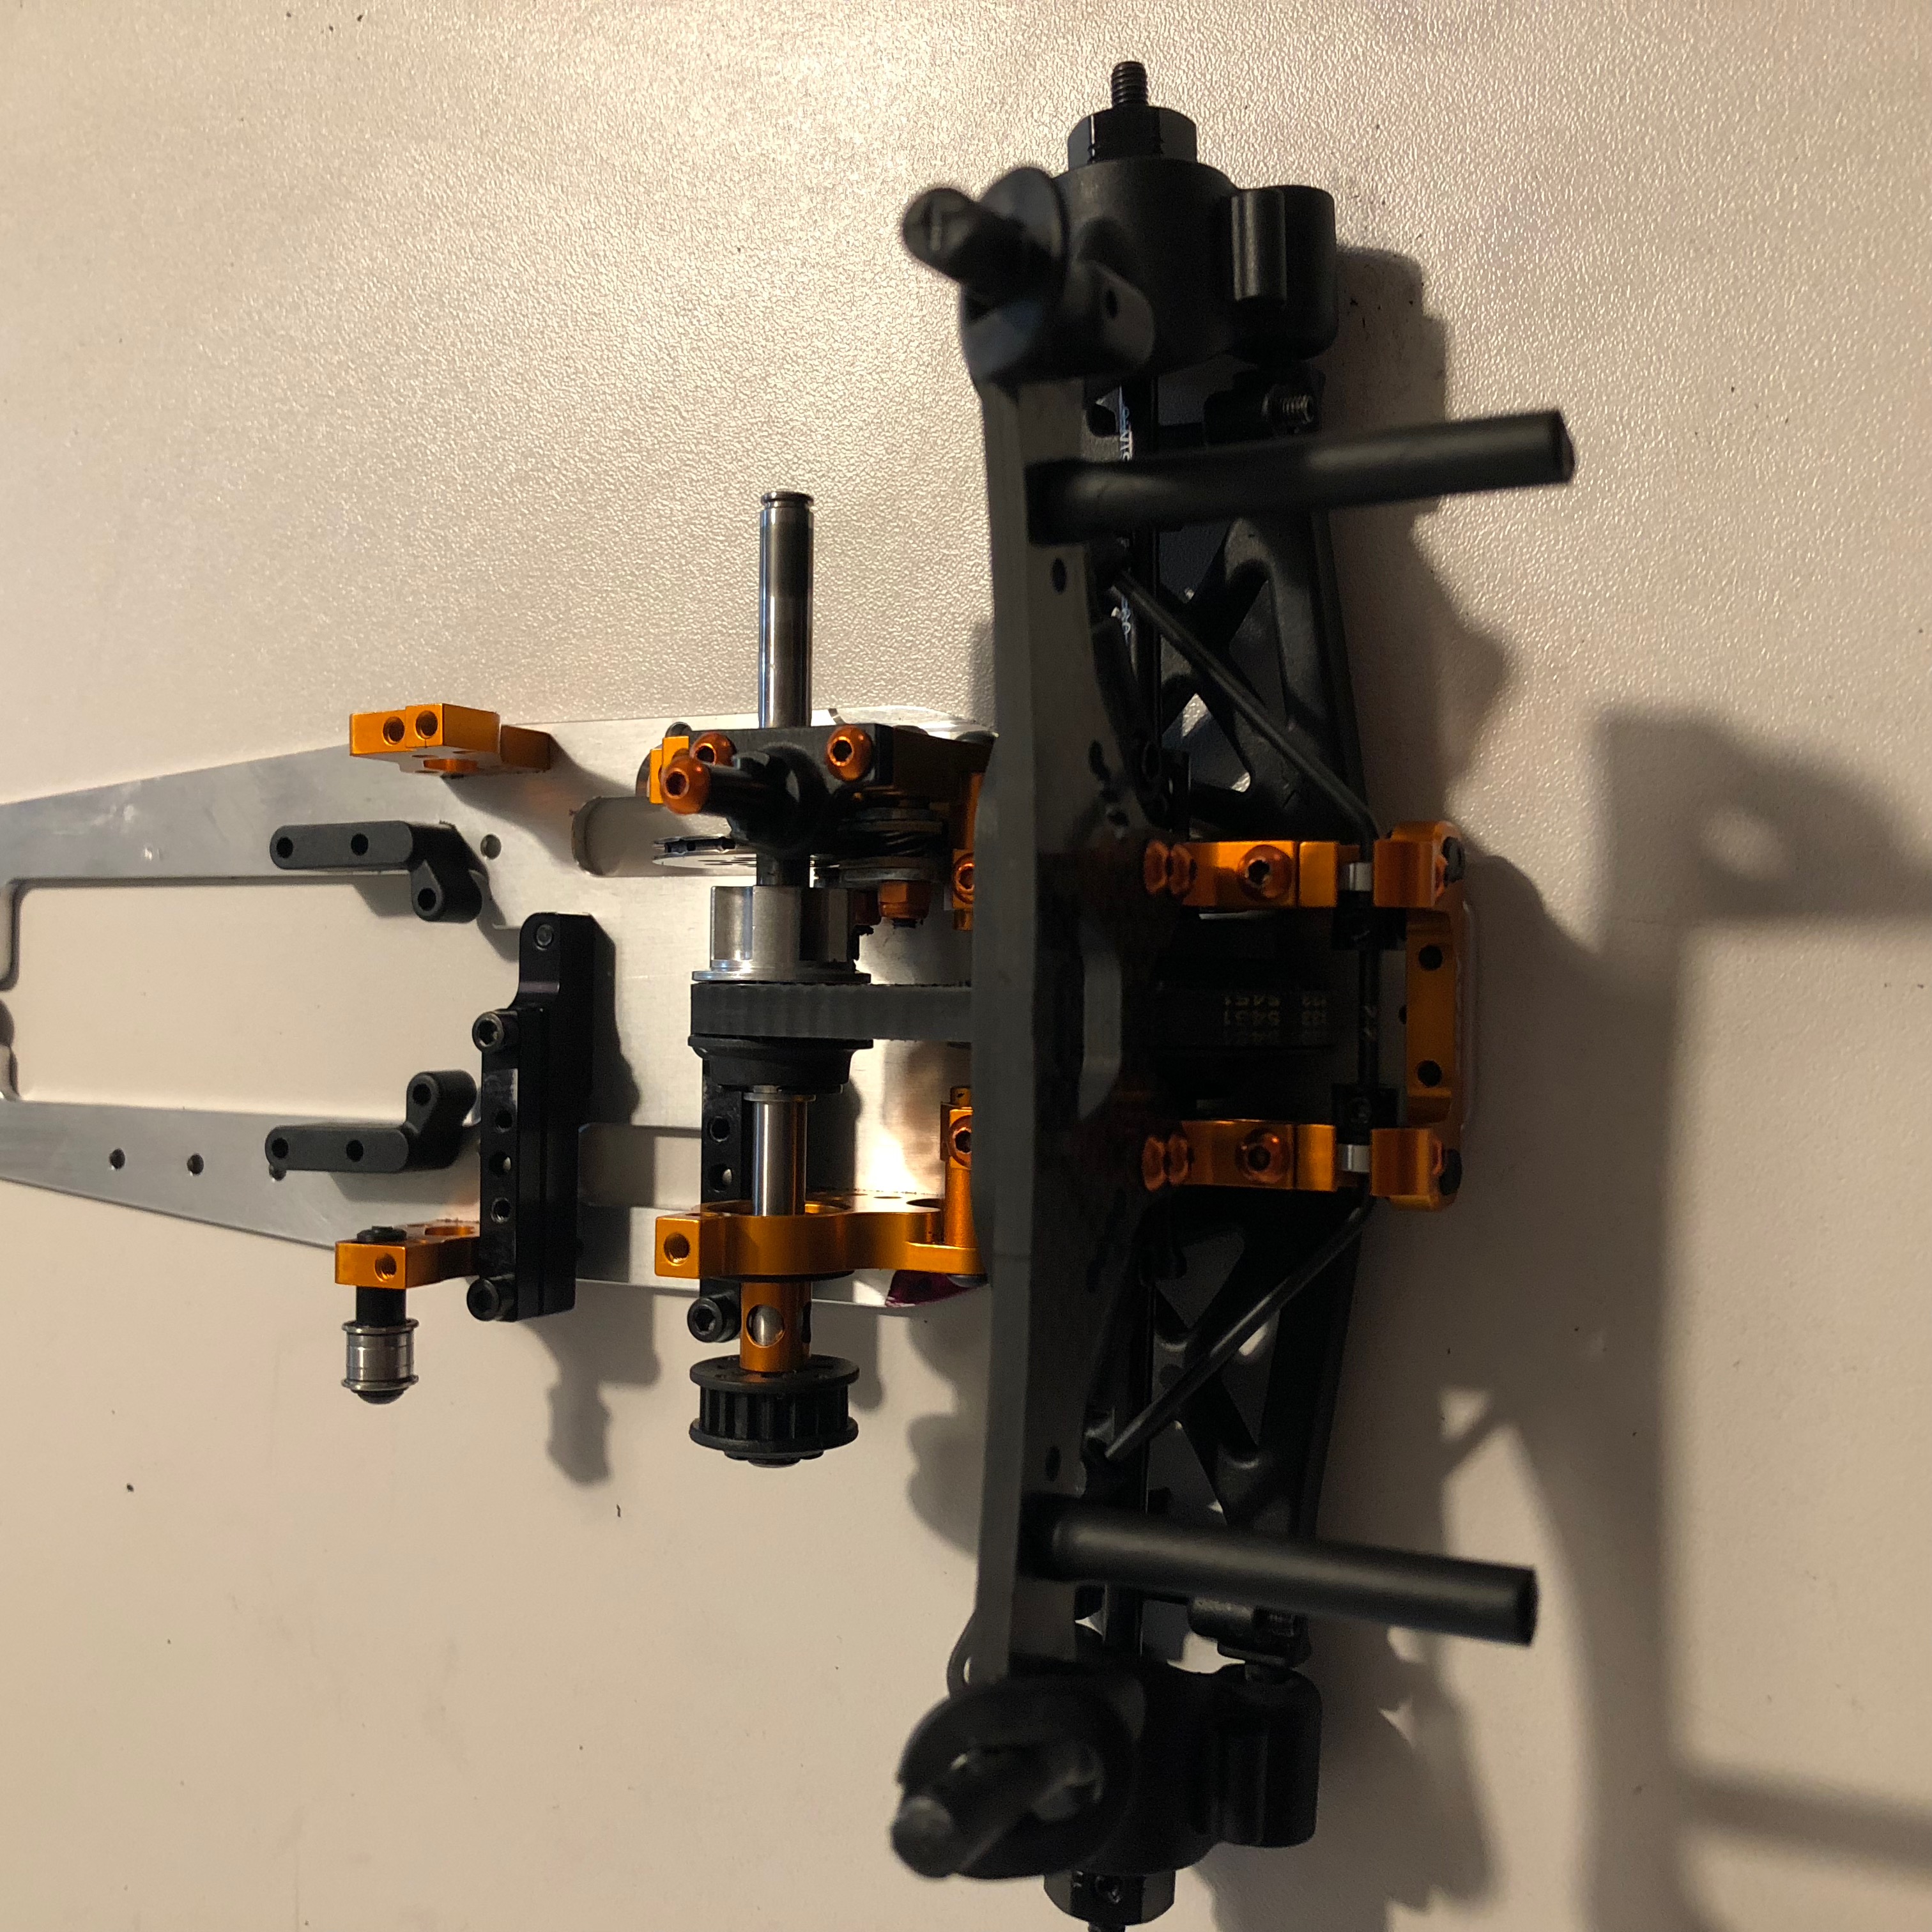
Remove the radio plate, engine and battery to make room for better access to all parts as shown in the picture below.
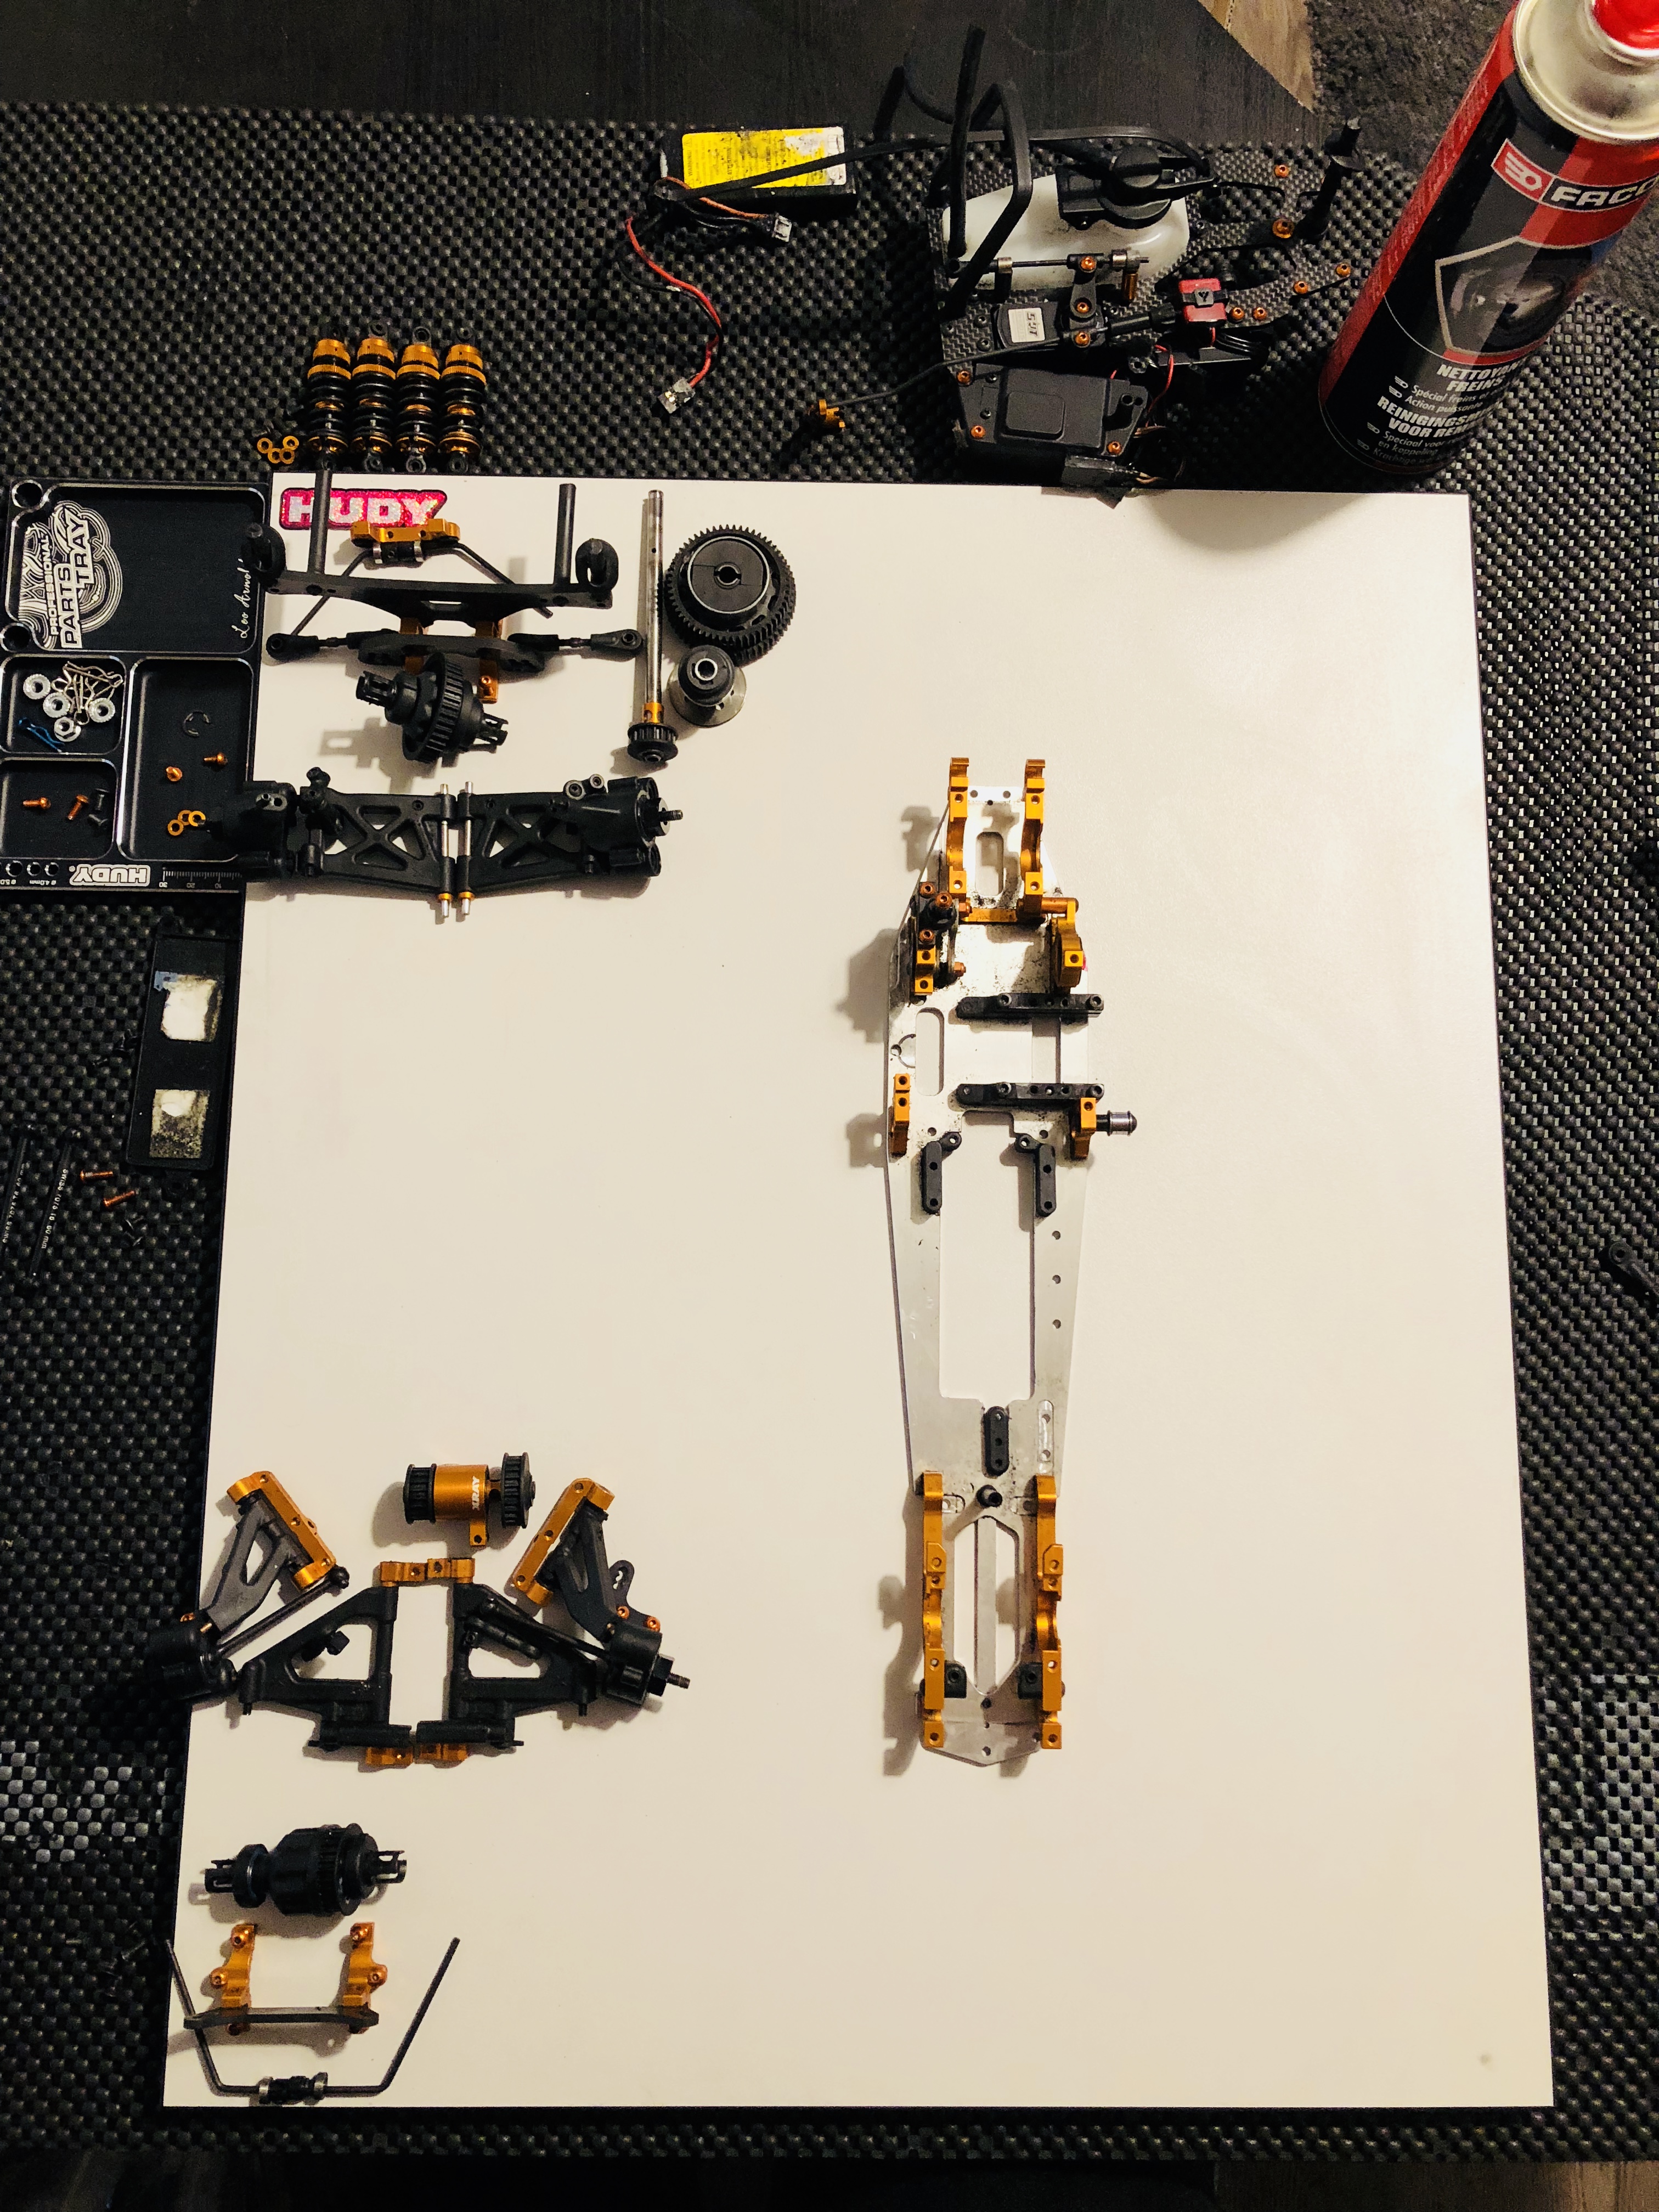
2nd step:
Dismantle all moving parts to check and clean them. Moving parts are always subject to mechanical stress and should be checked regularly to ensure that the problem is minimized and the best possible performance is achieved.
Only the fixed parts will remain on the frame, i.e. the partitions.
We can now start checking and cleaning.
Step 3:
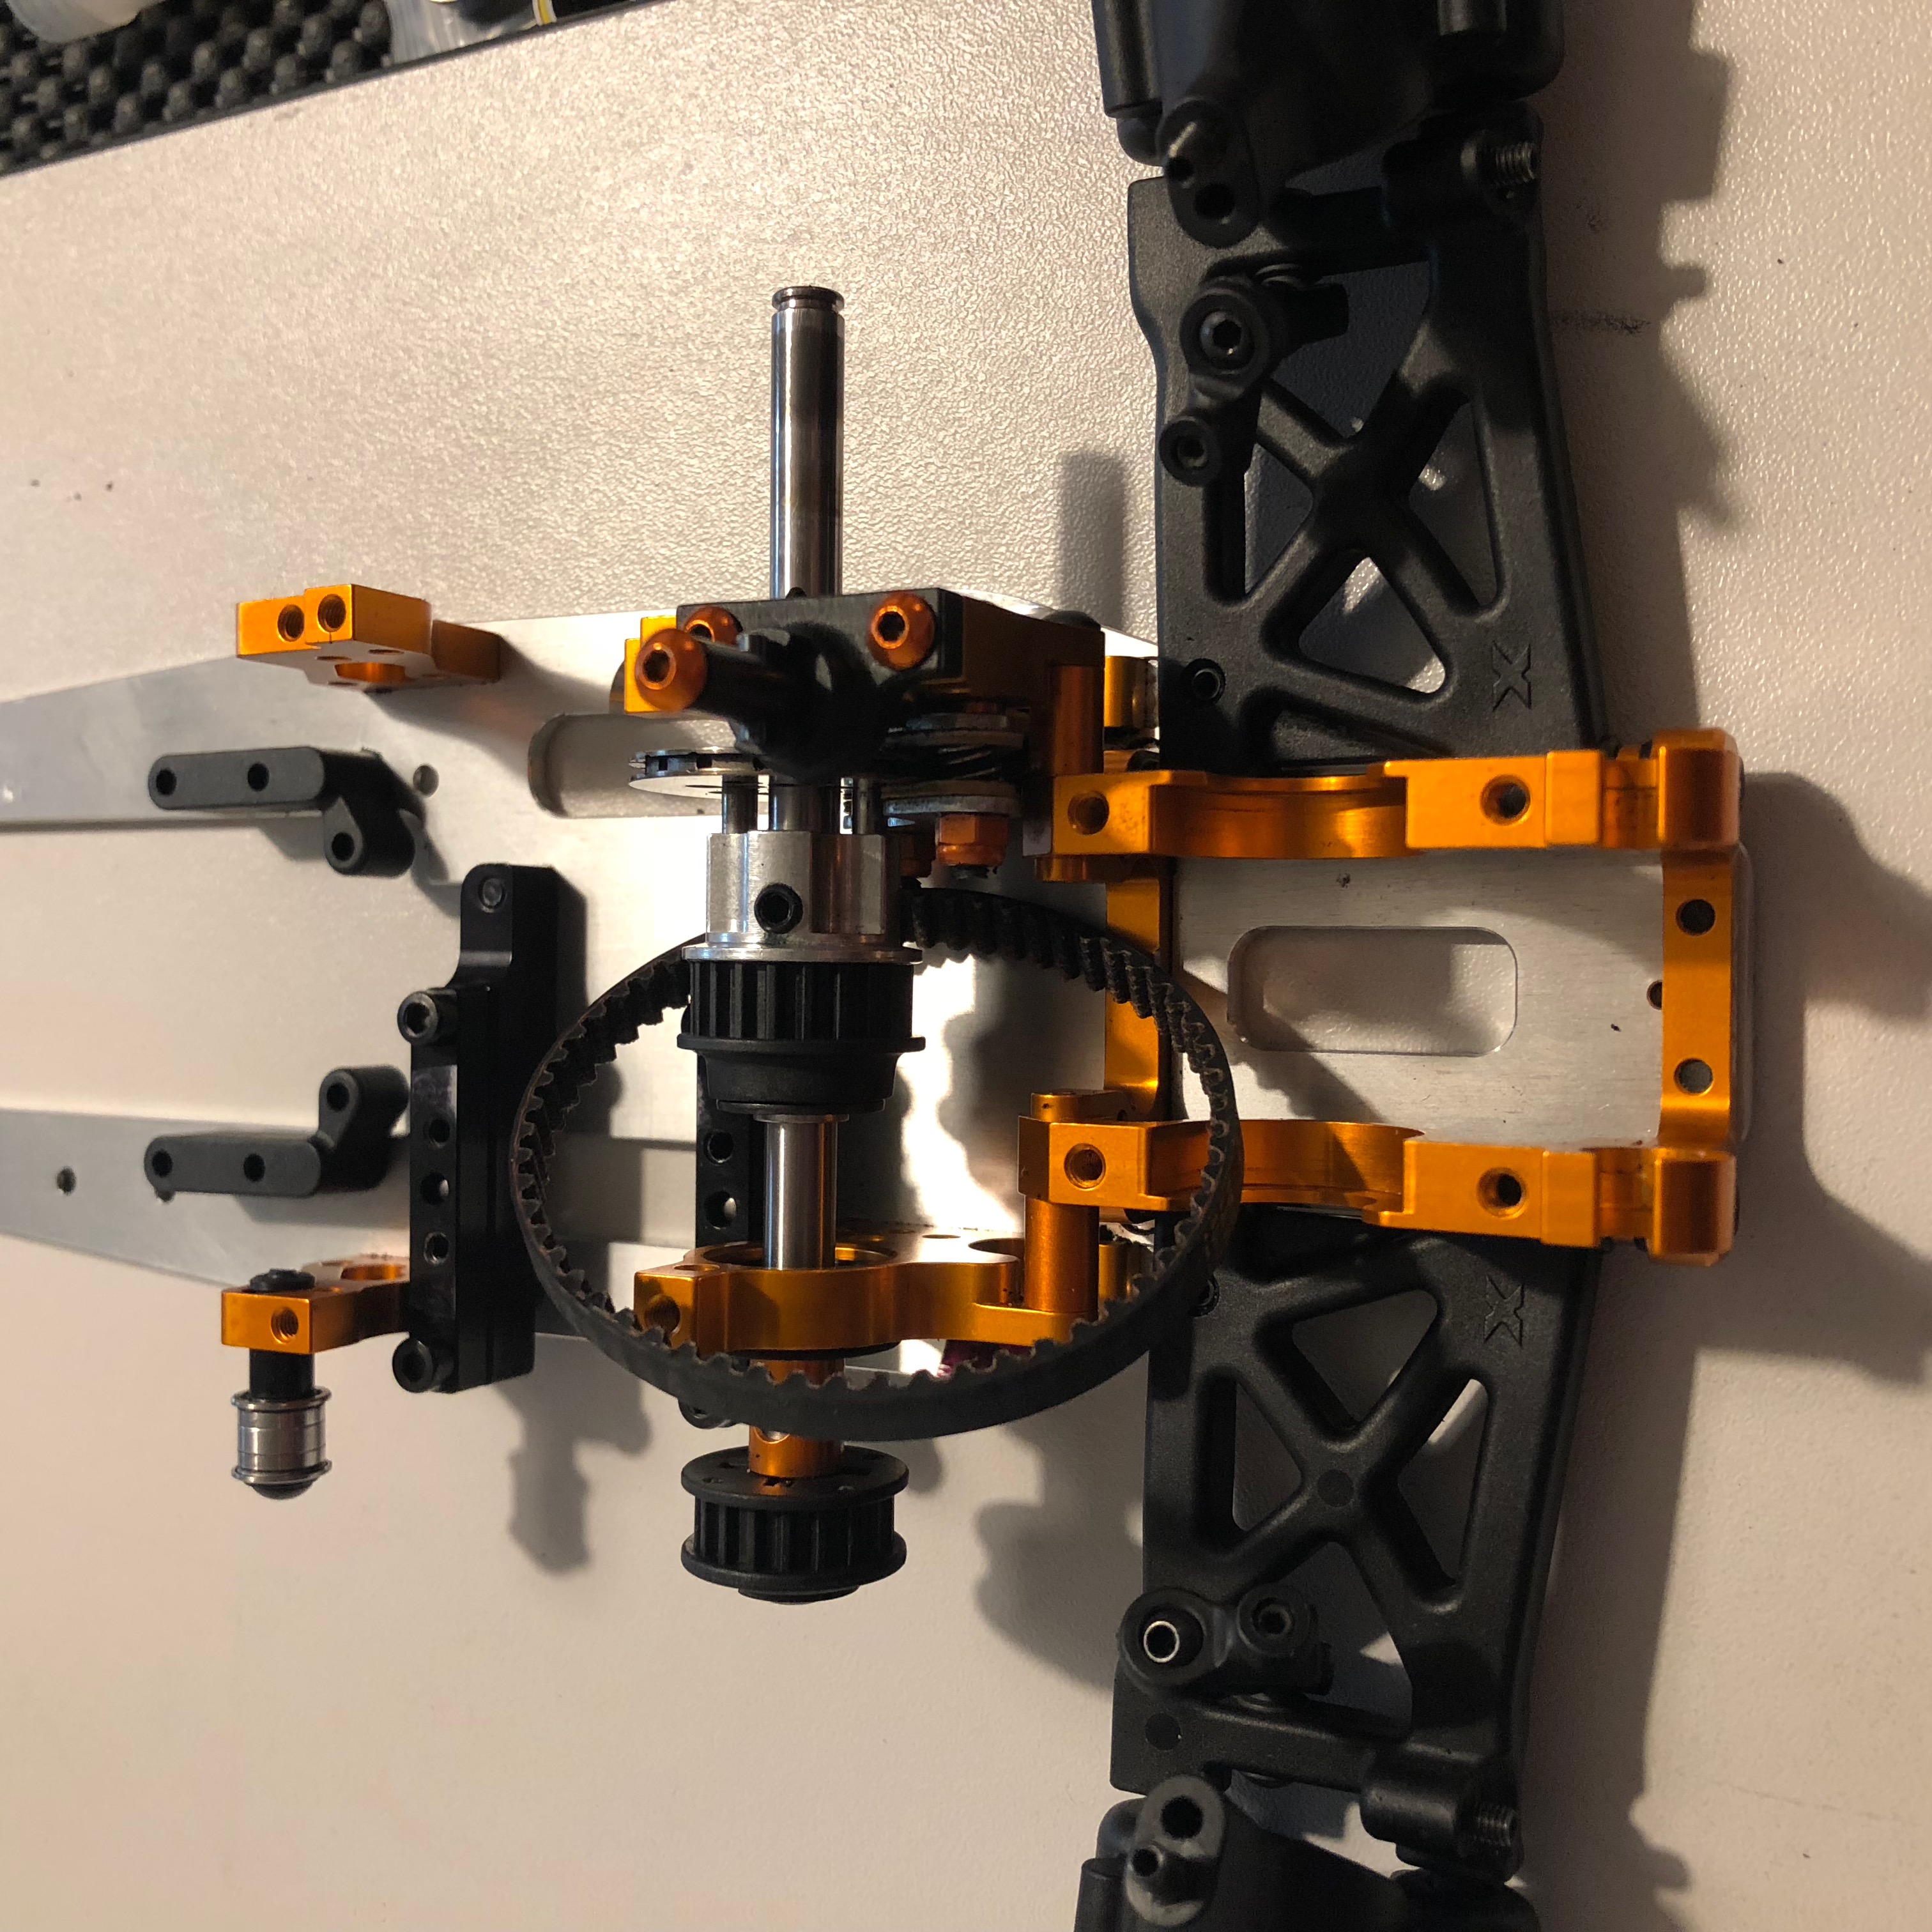
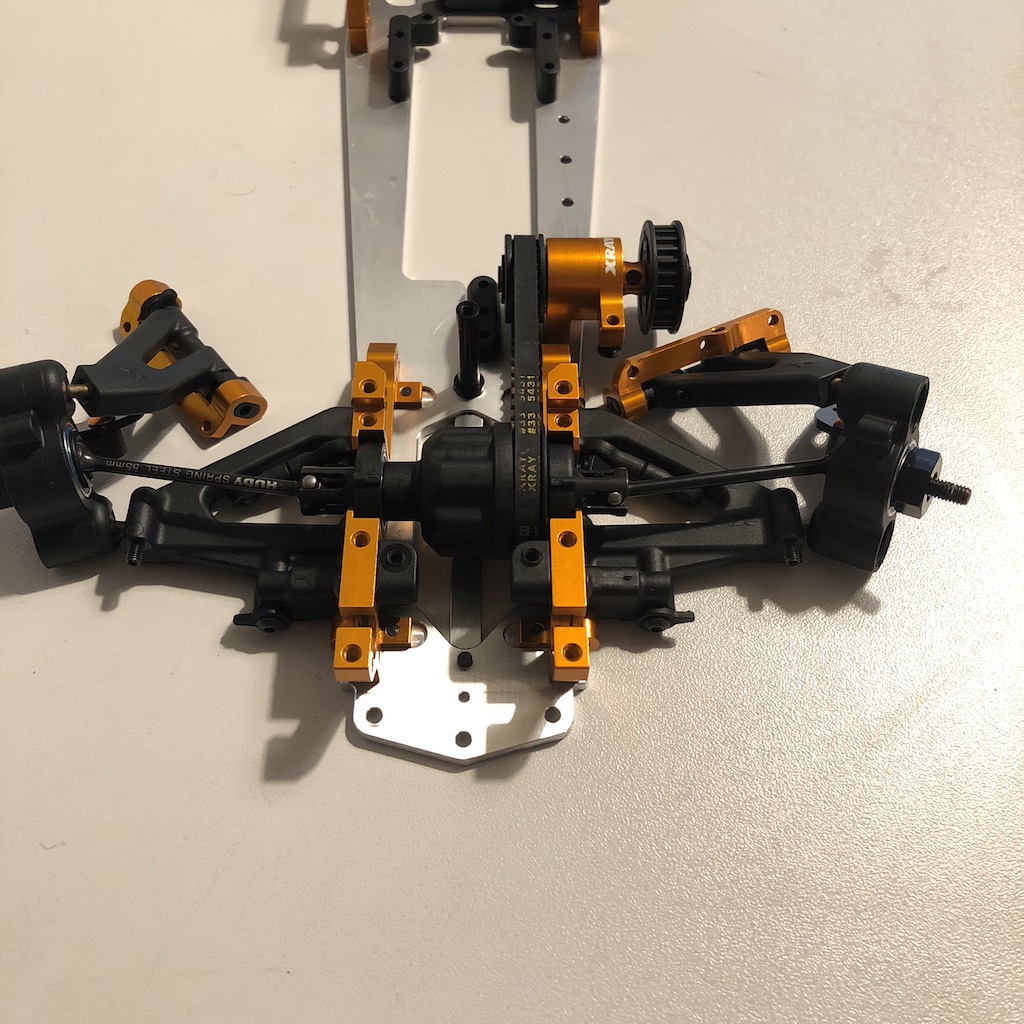
We start with the rear axle. Especially the suspension.
Before we check all parts, we have to clean them to see all the details.
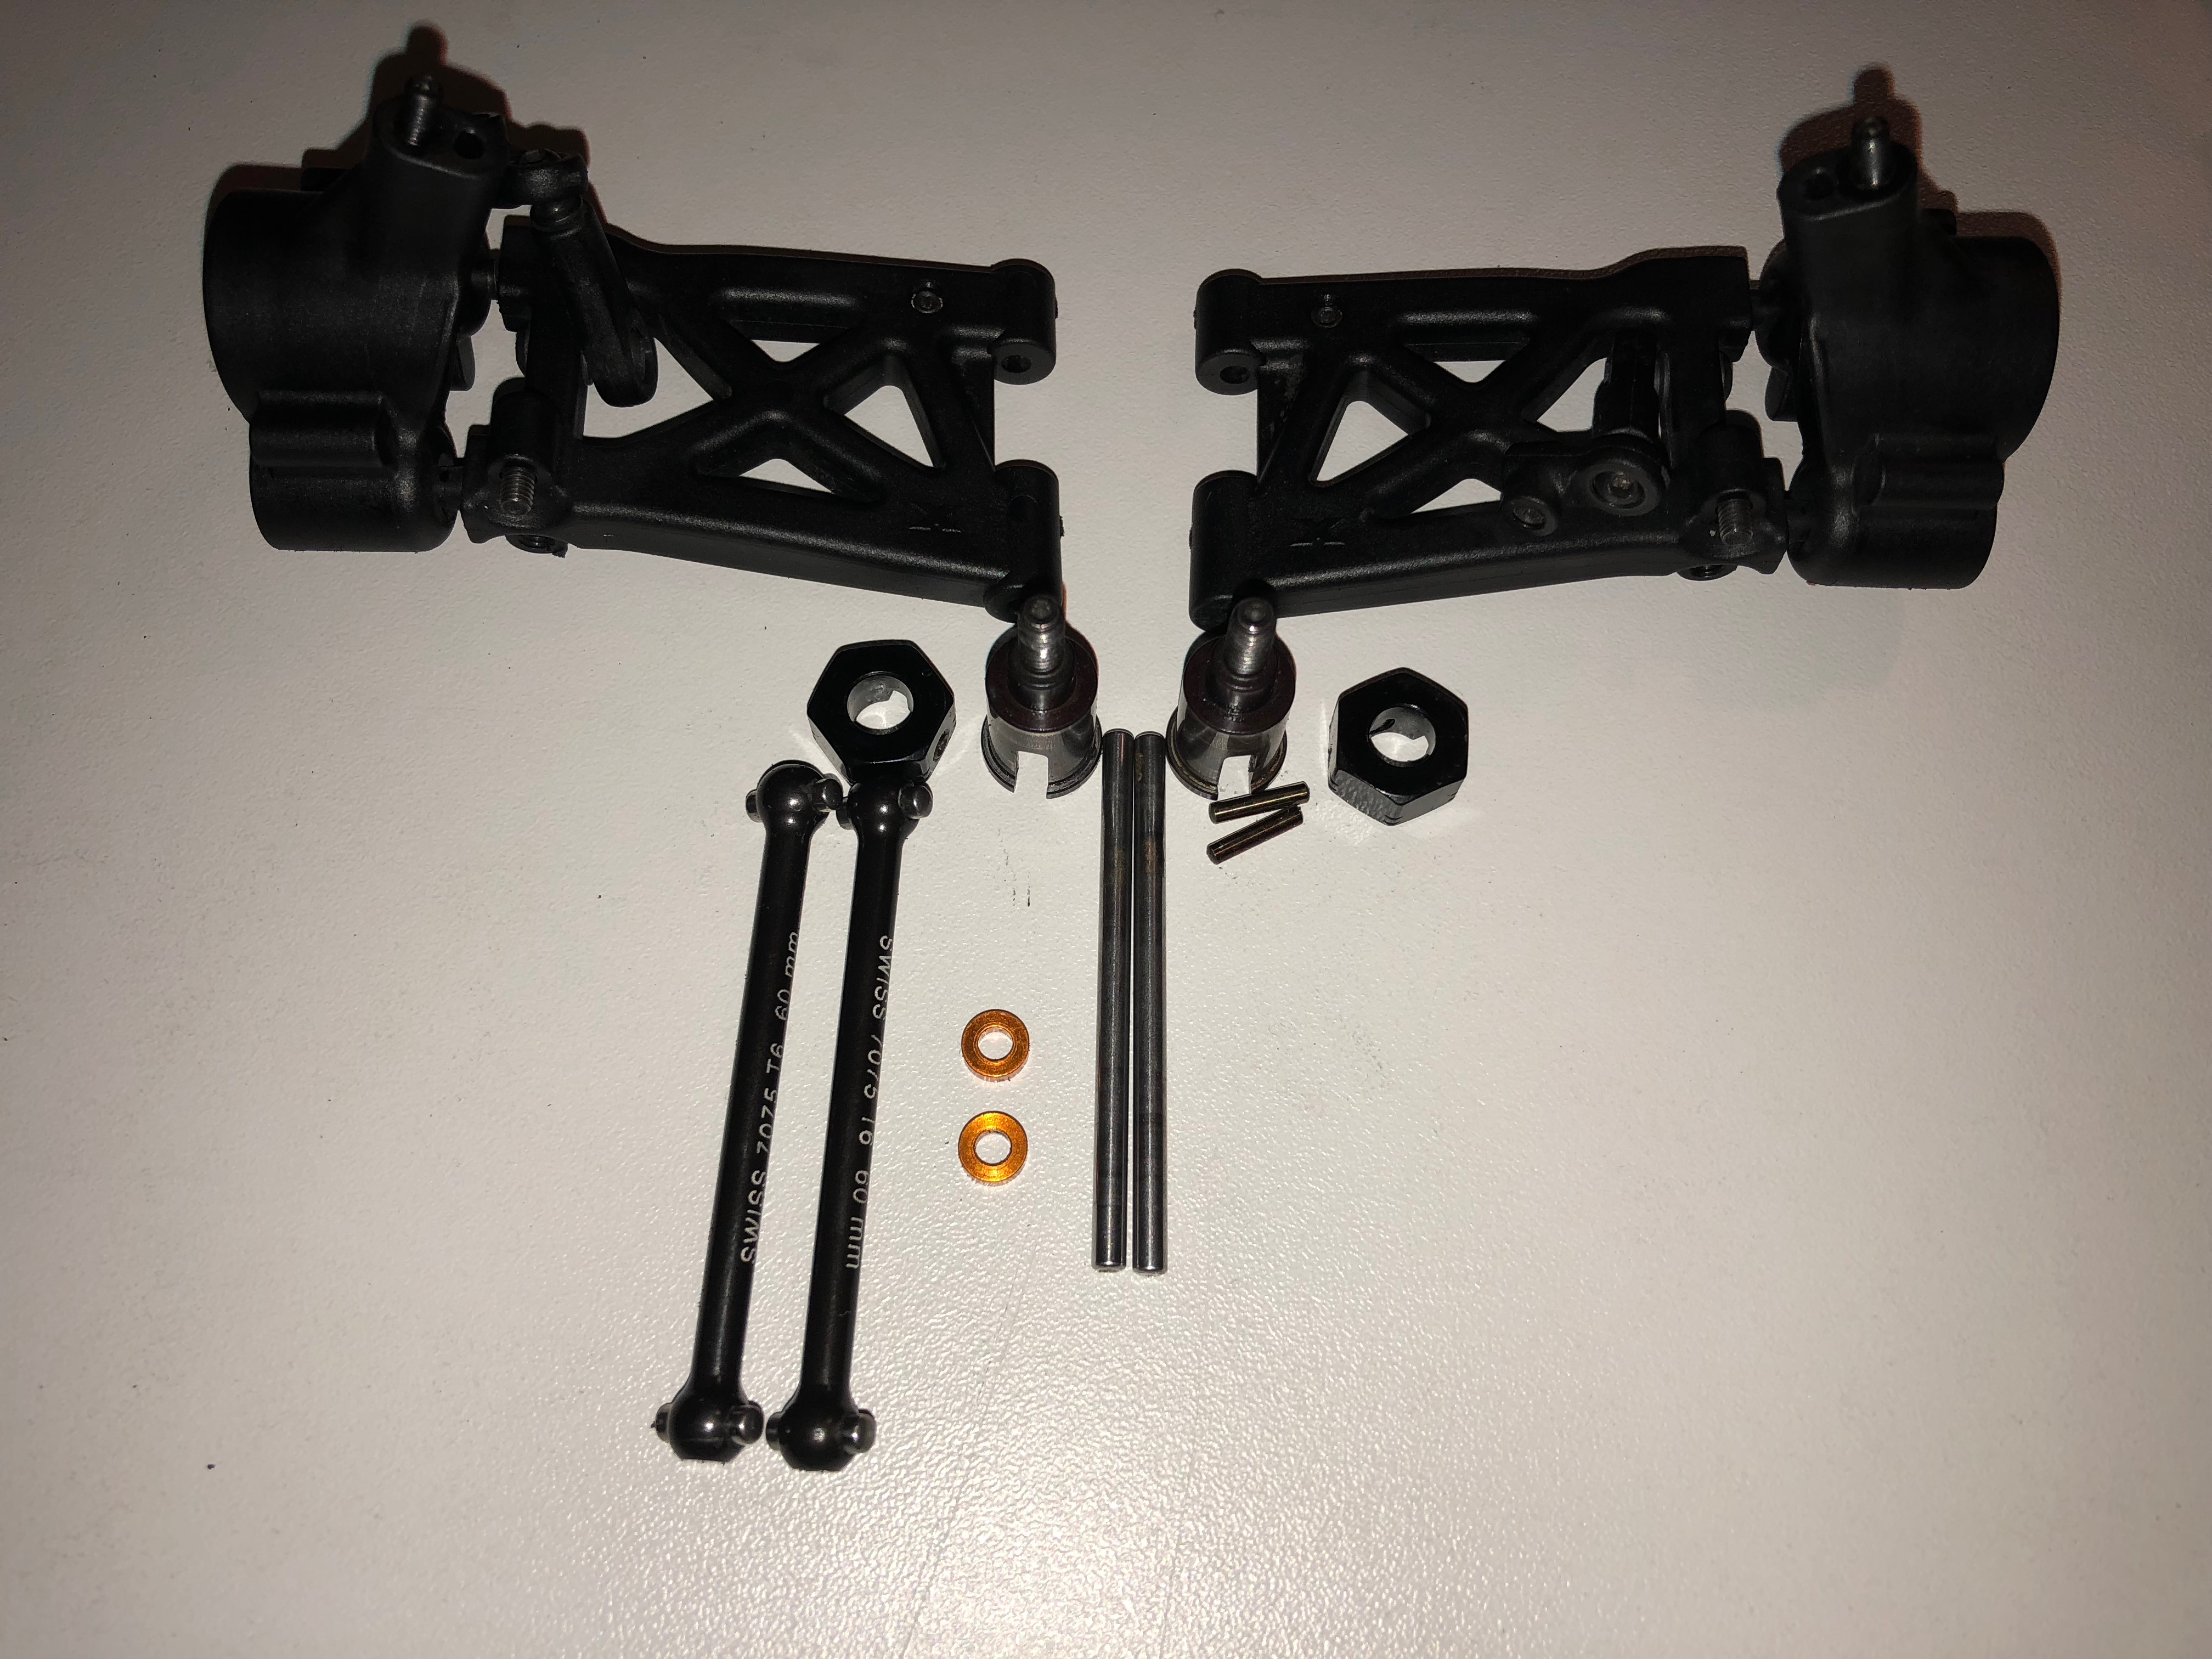
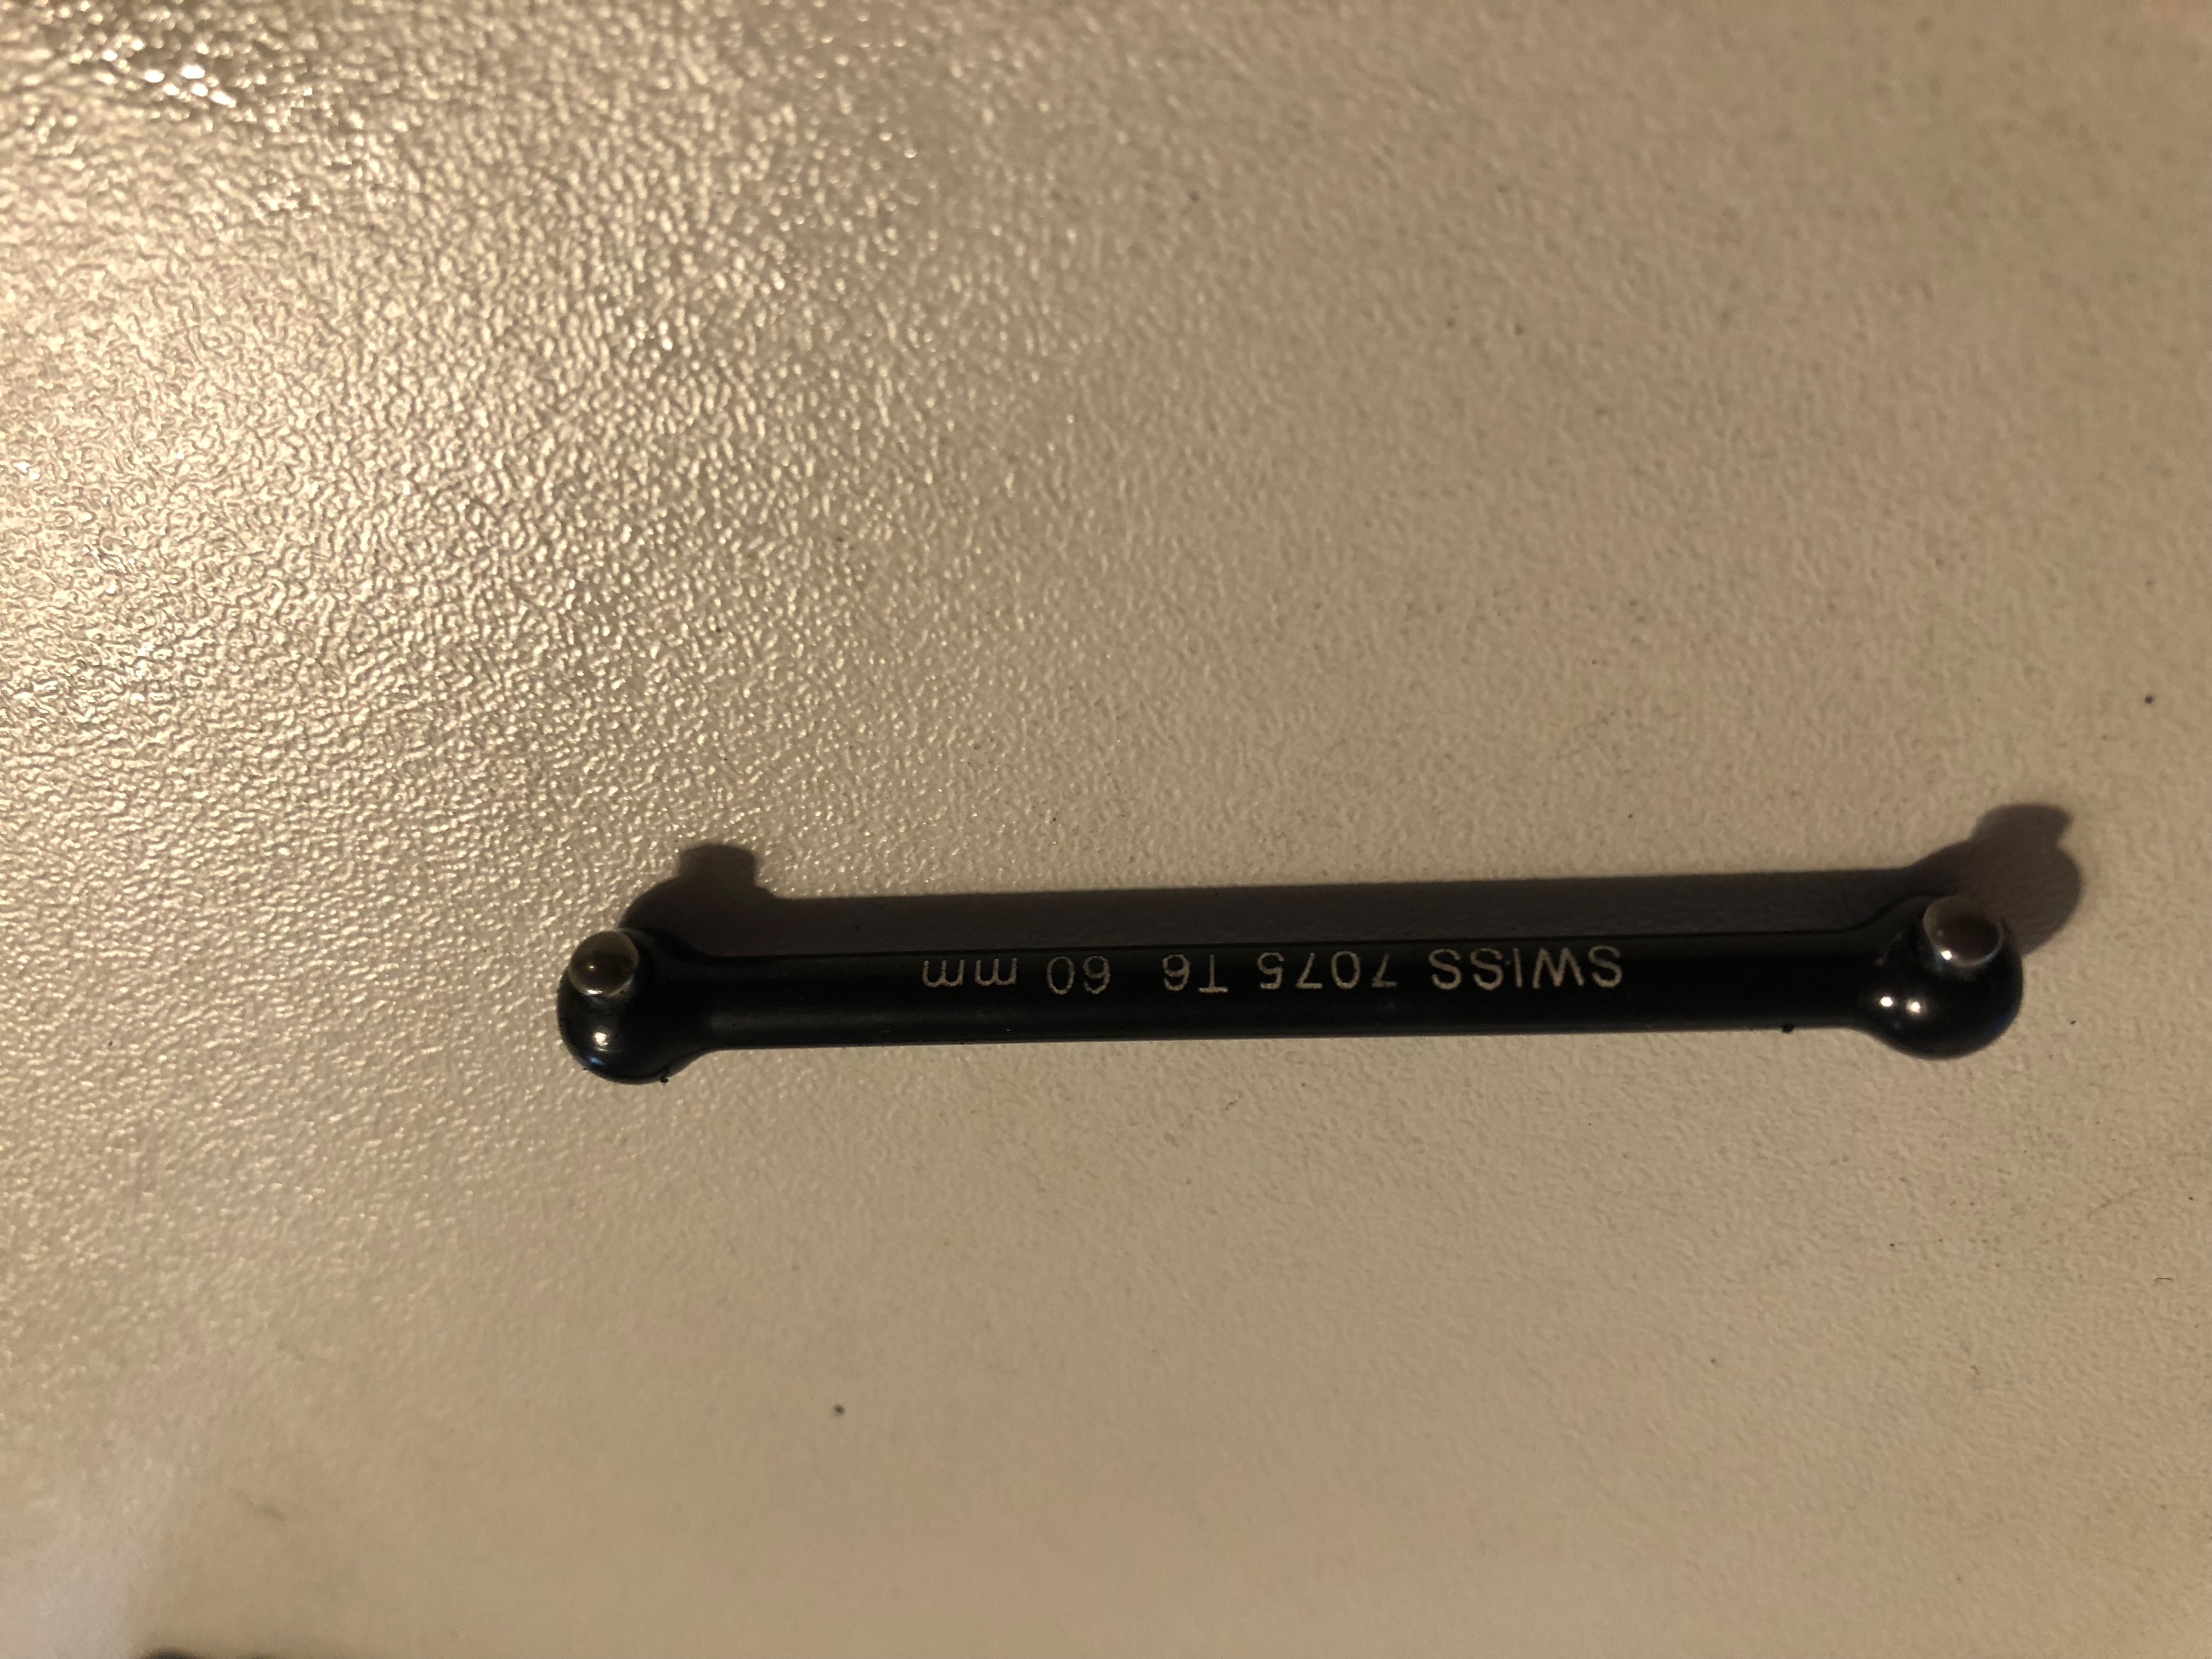
In the picture above, check the pin on the drive shaft. If the pin is flat, you need to replace it or change the shaft. This can cause your car to react badly. Also check all the bearings, they must move freely. If not, replace the bearing that is not correct.
In the picture below, check that the pivot pins move freely in the arm. If not, use the Hudy 3mm reamer.
At the same time, check that the vertical position moves freely and doesn't play too much. Reduce the play as much as possible.
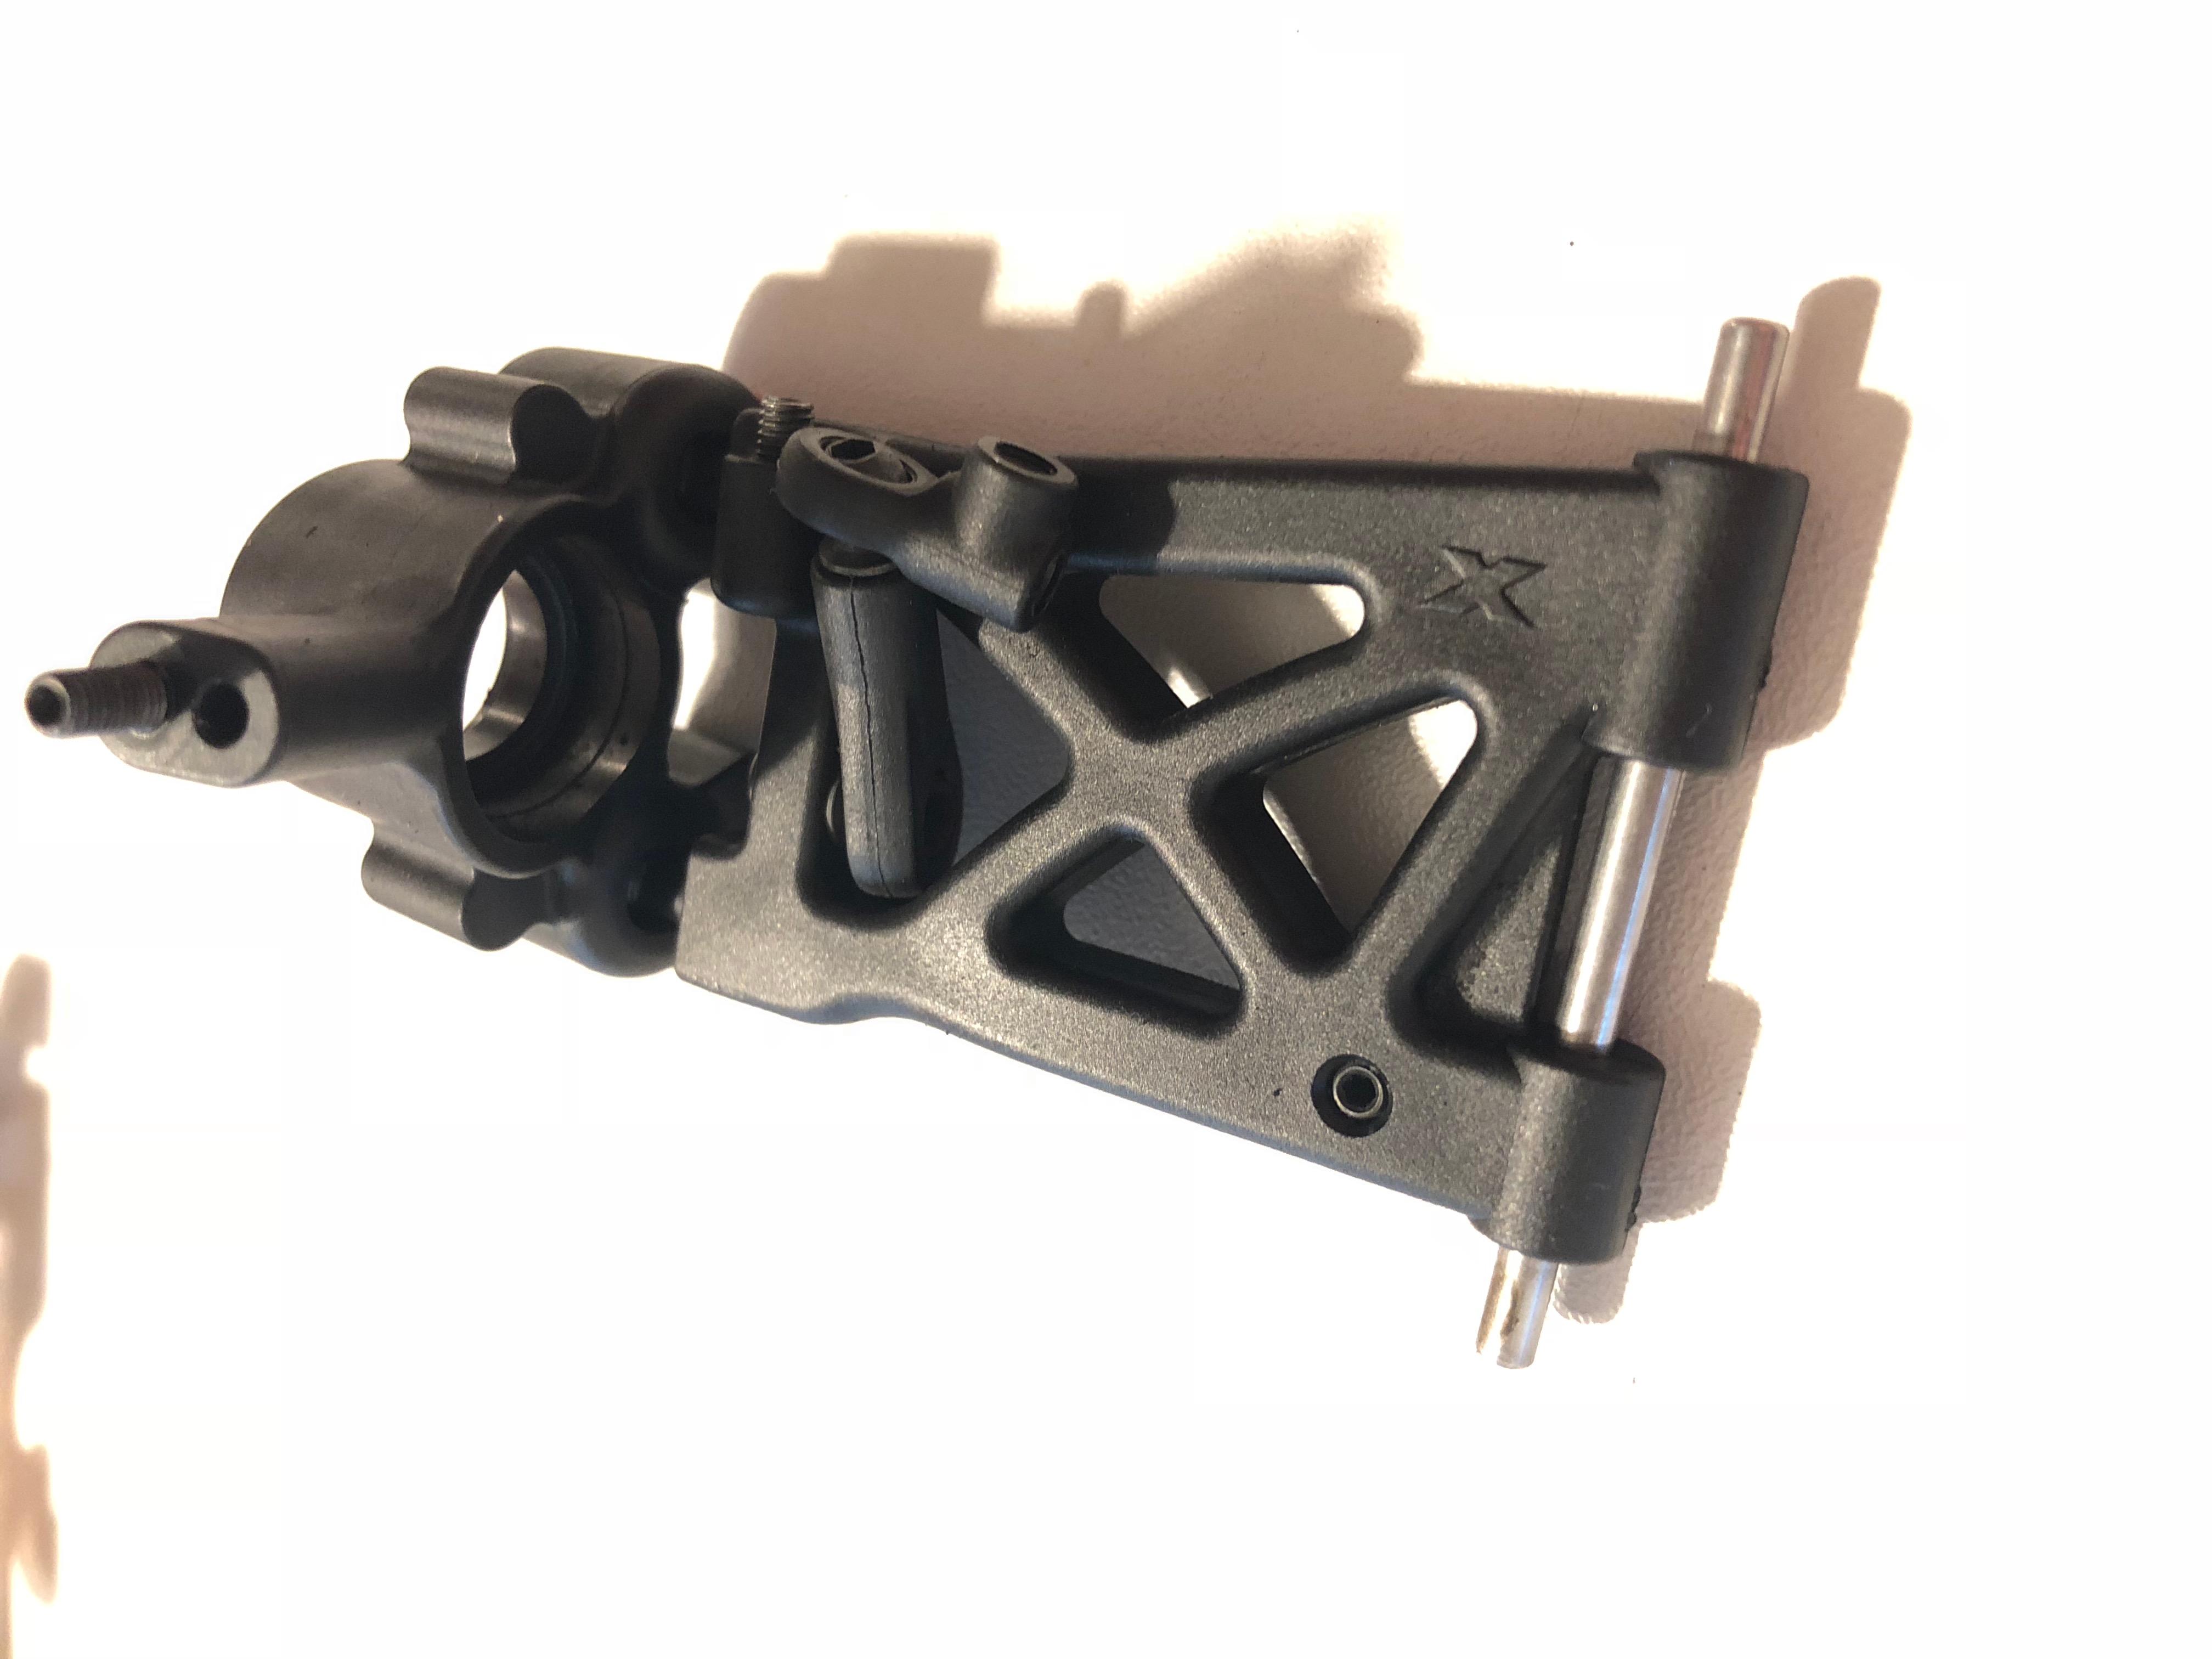
For the pulley, remove dust and stones that can be inserted with the cutter or a toothbrush. A clean pulley will ensure a longer life of your belts and a better efficiency of your transmission.
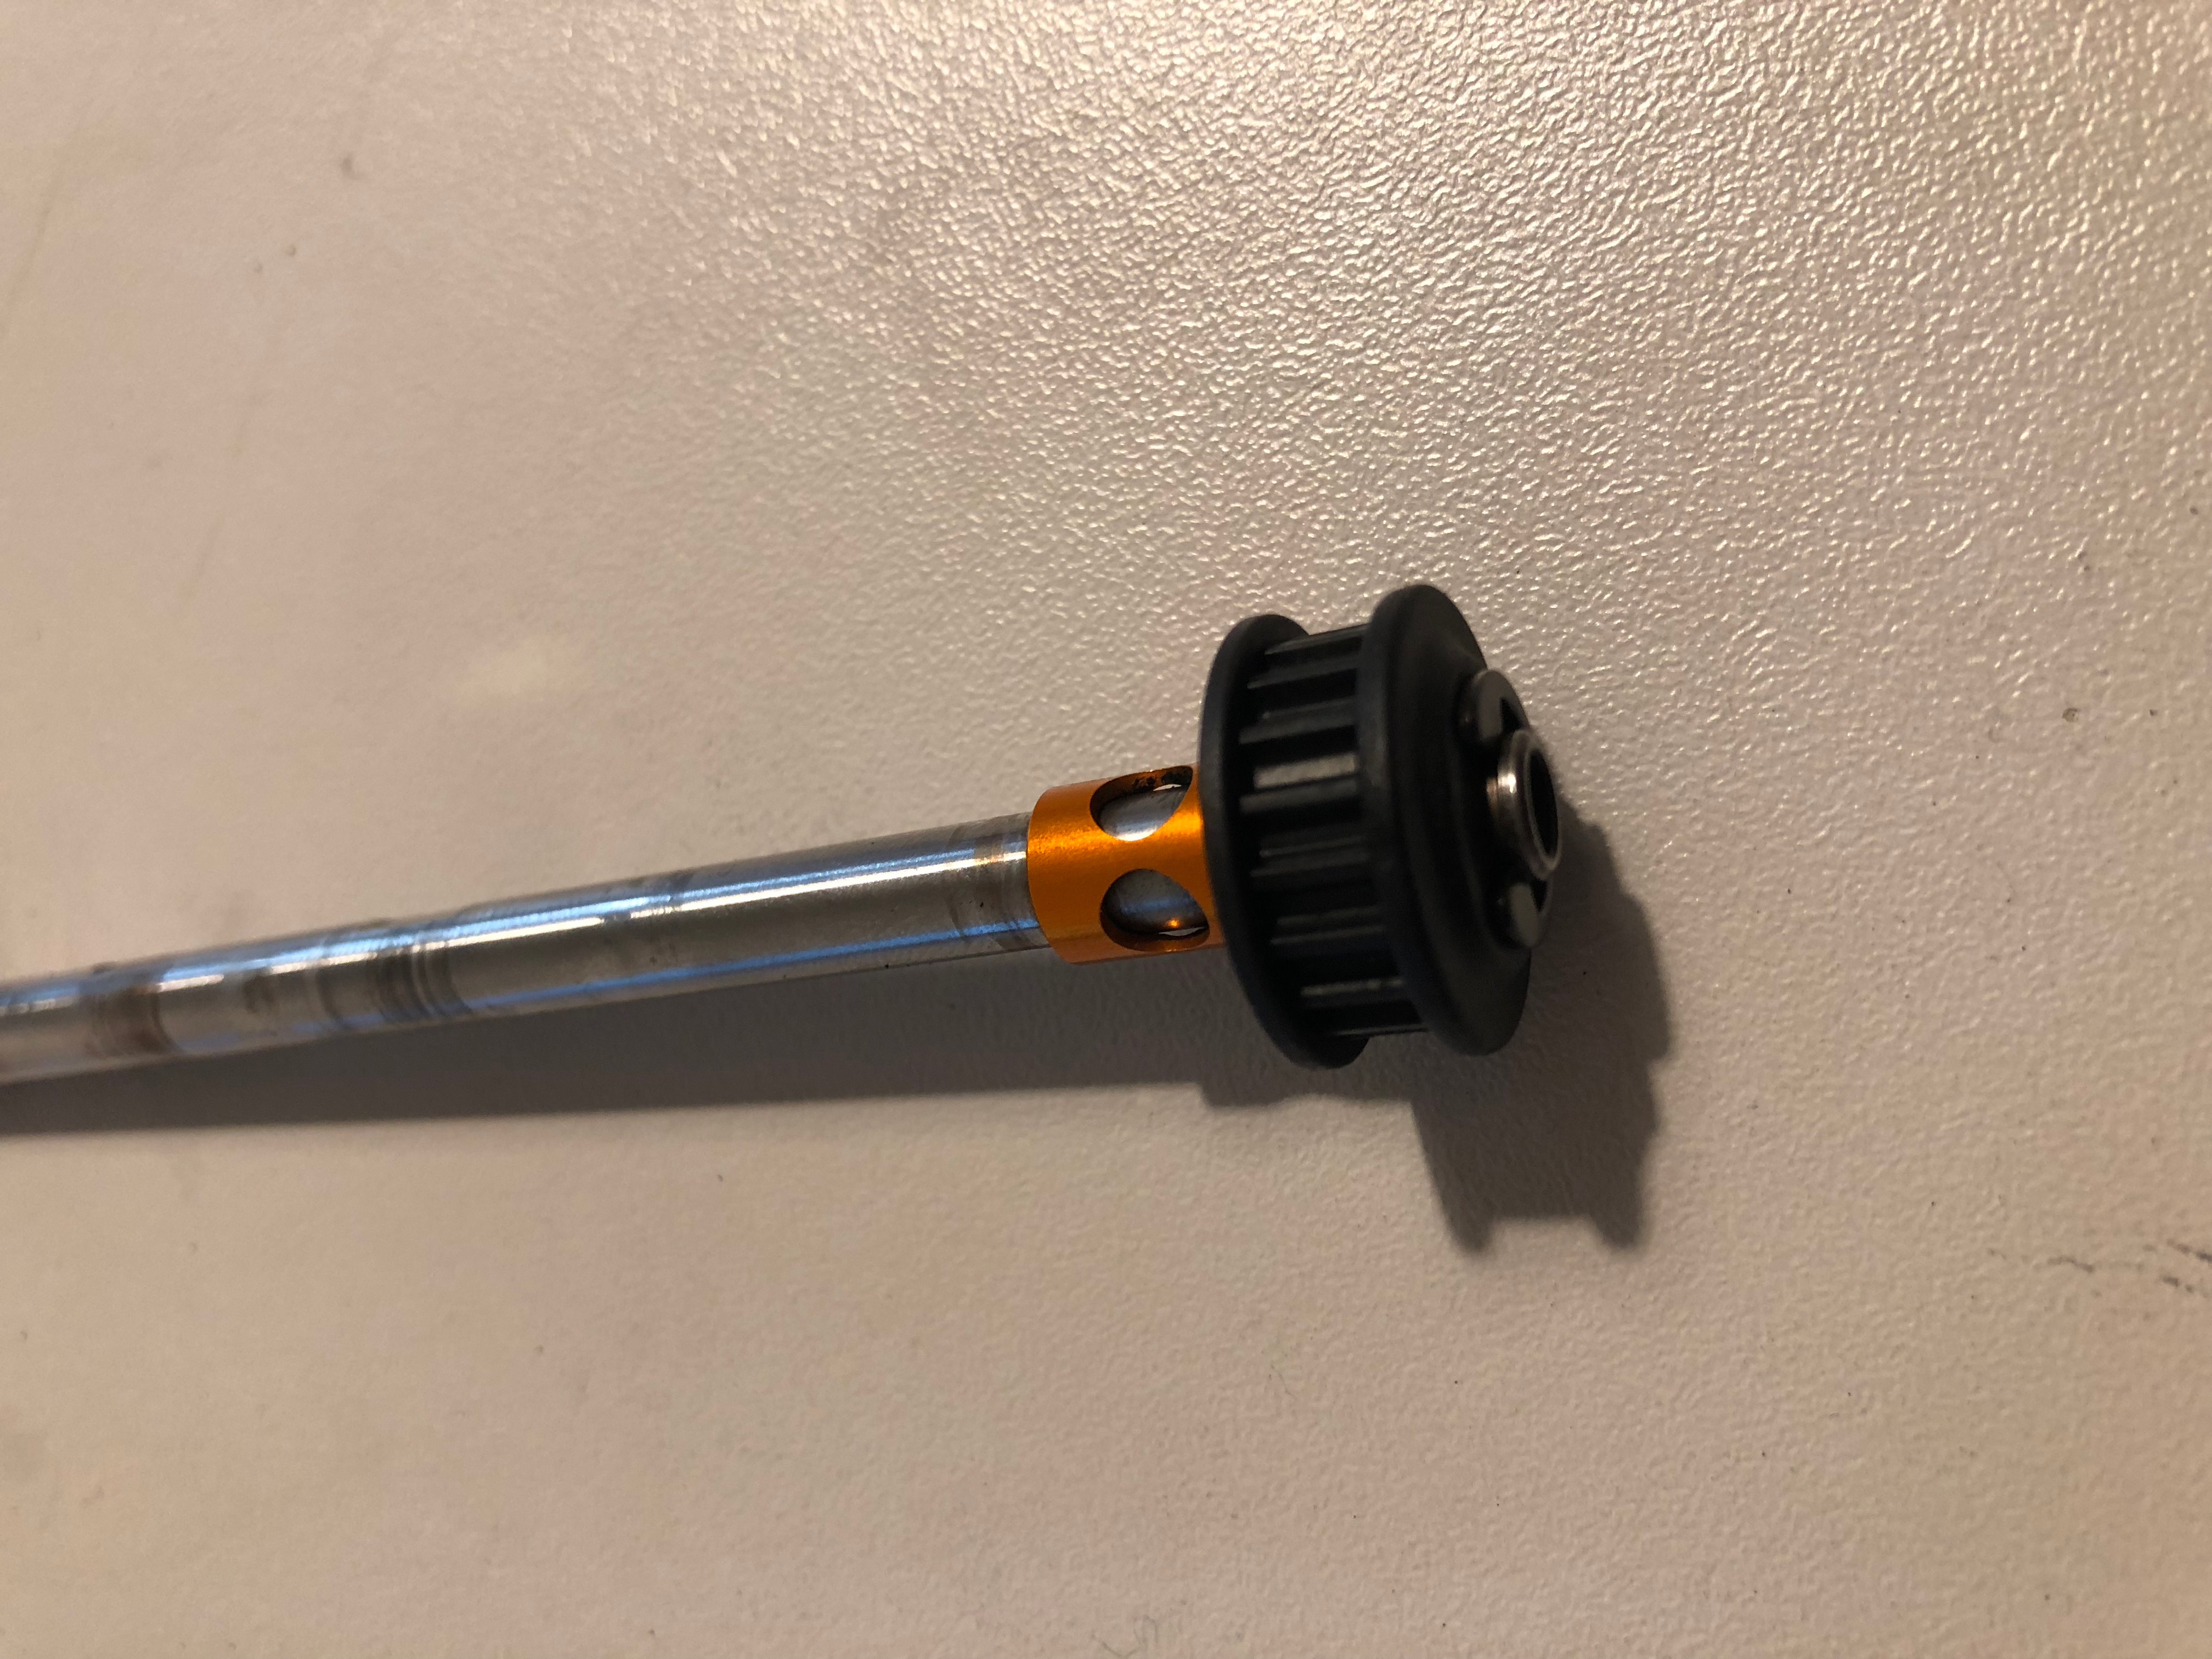
Step 4: let's focus on the optional parts I use on the rear axle
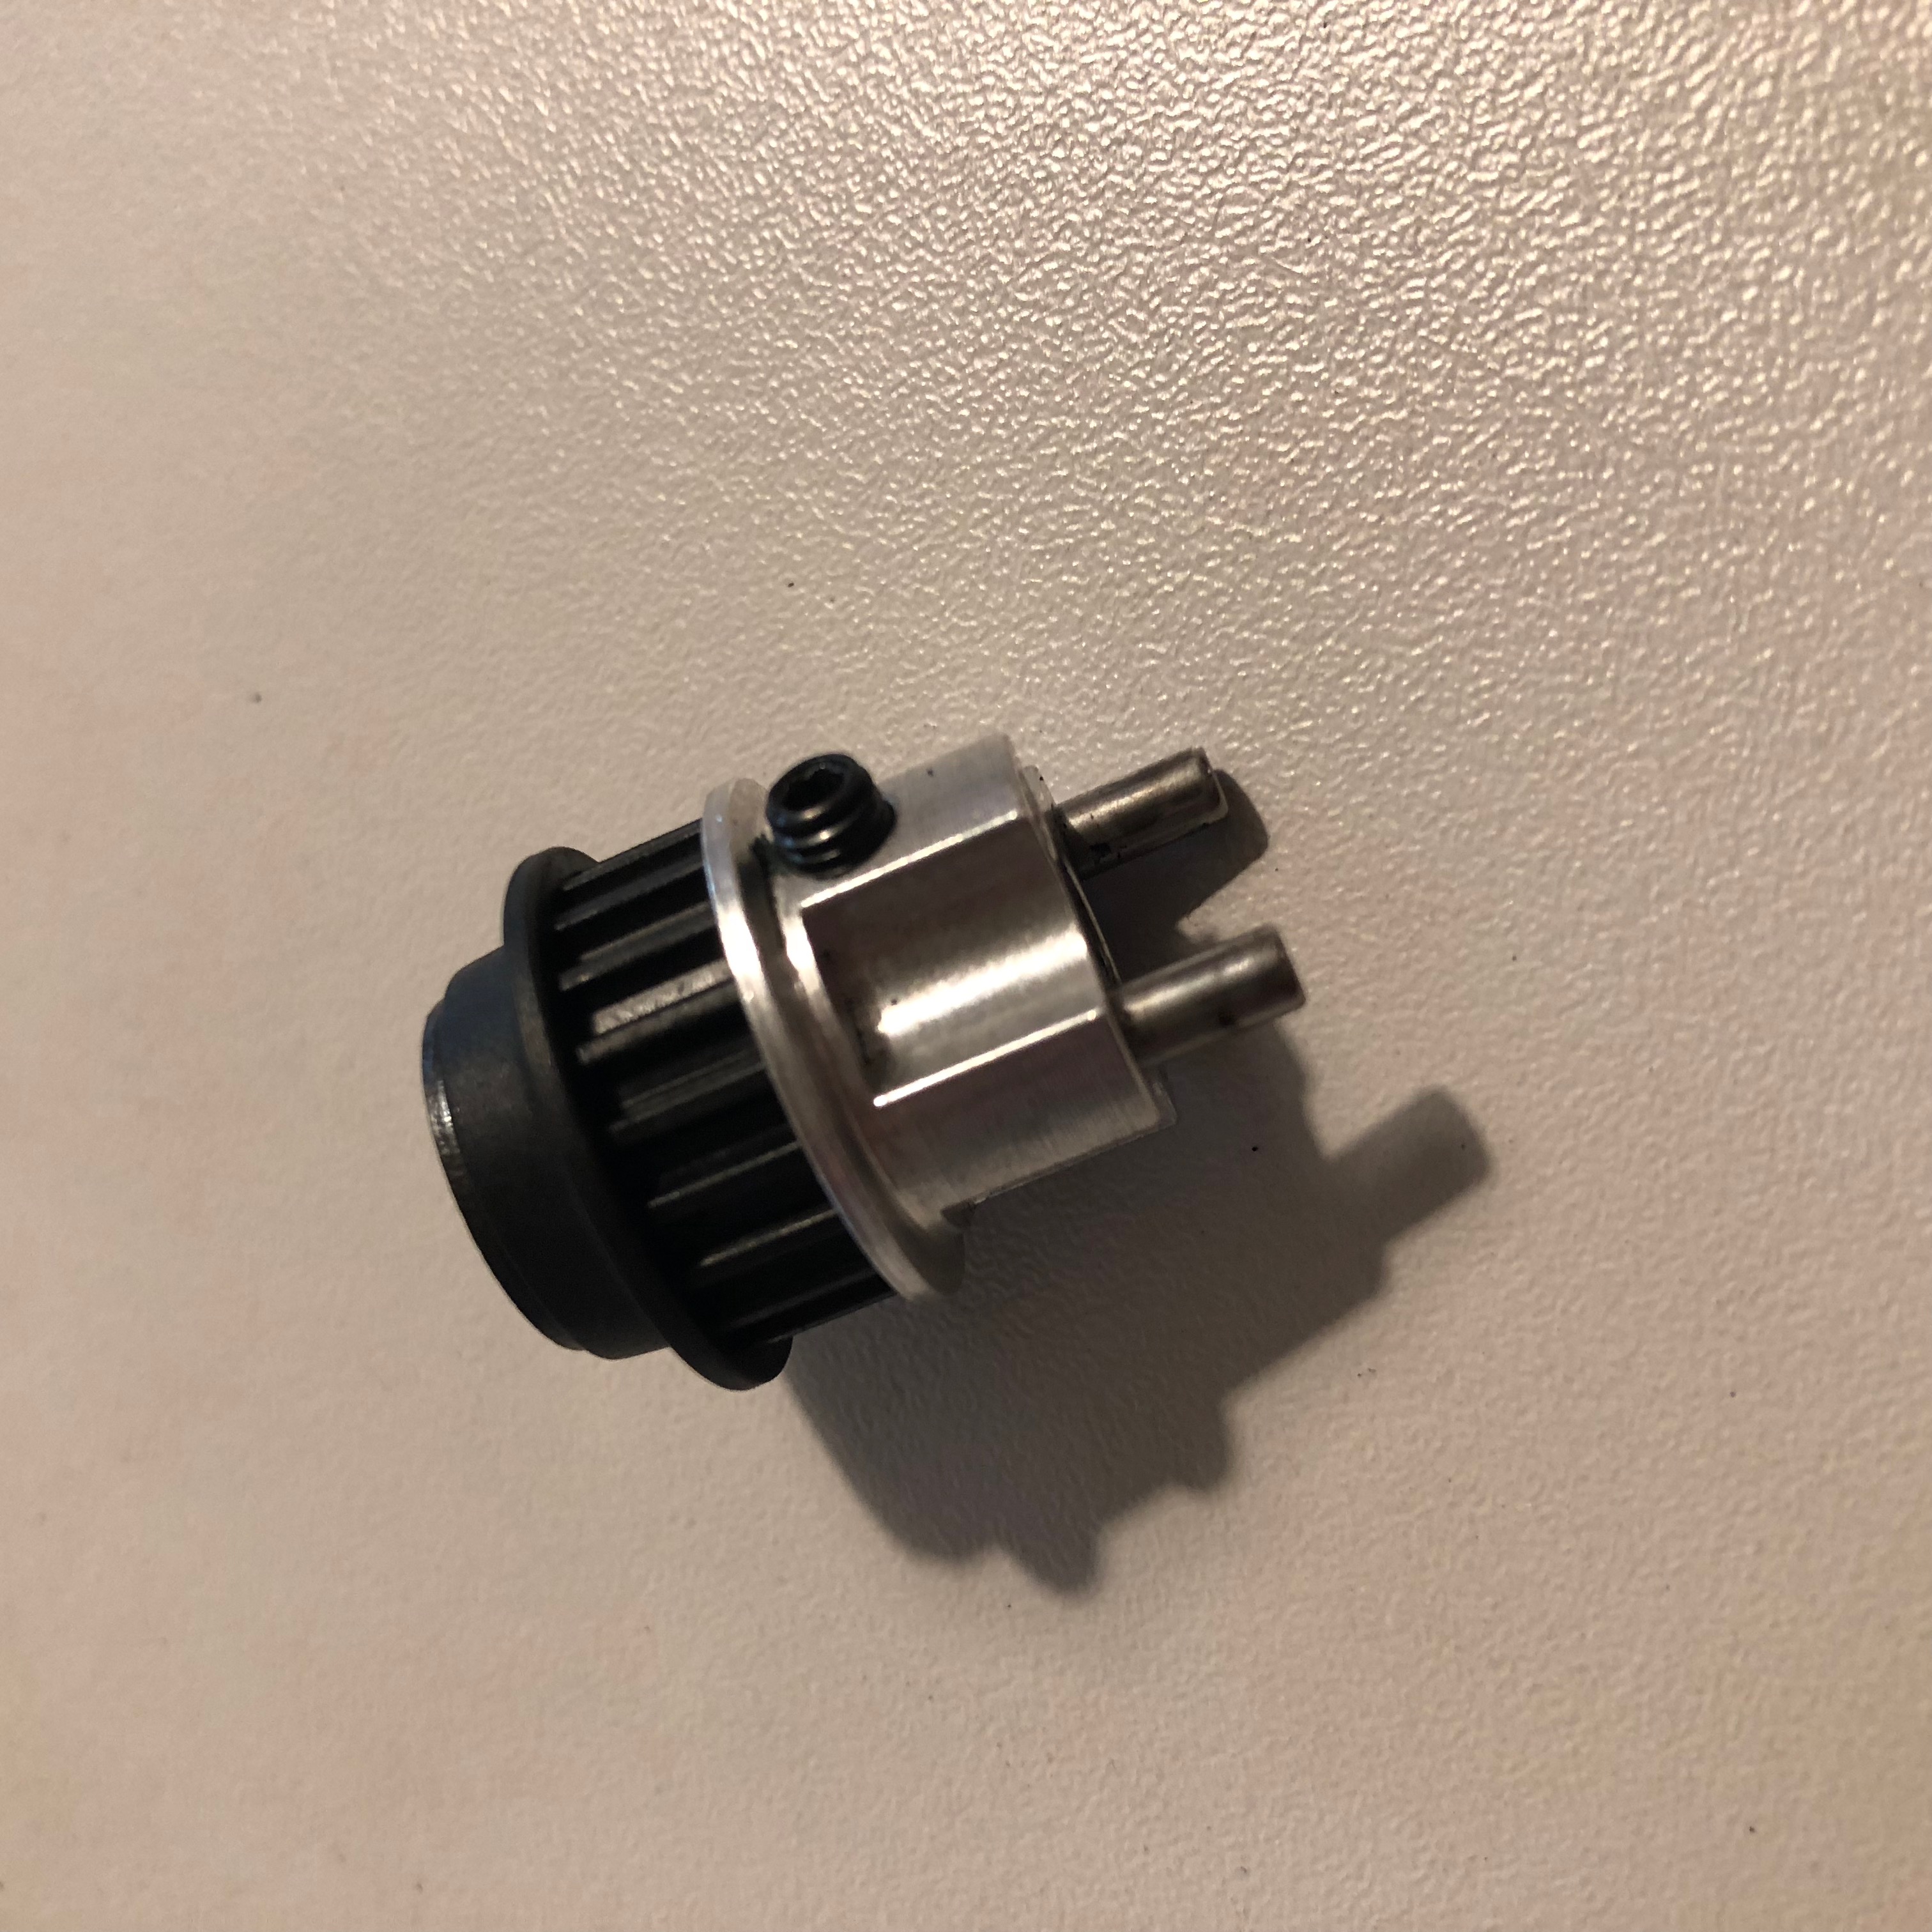
- Lightweight 2-speed shaft for weight savings on rotating masses for better engine performance
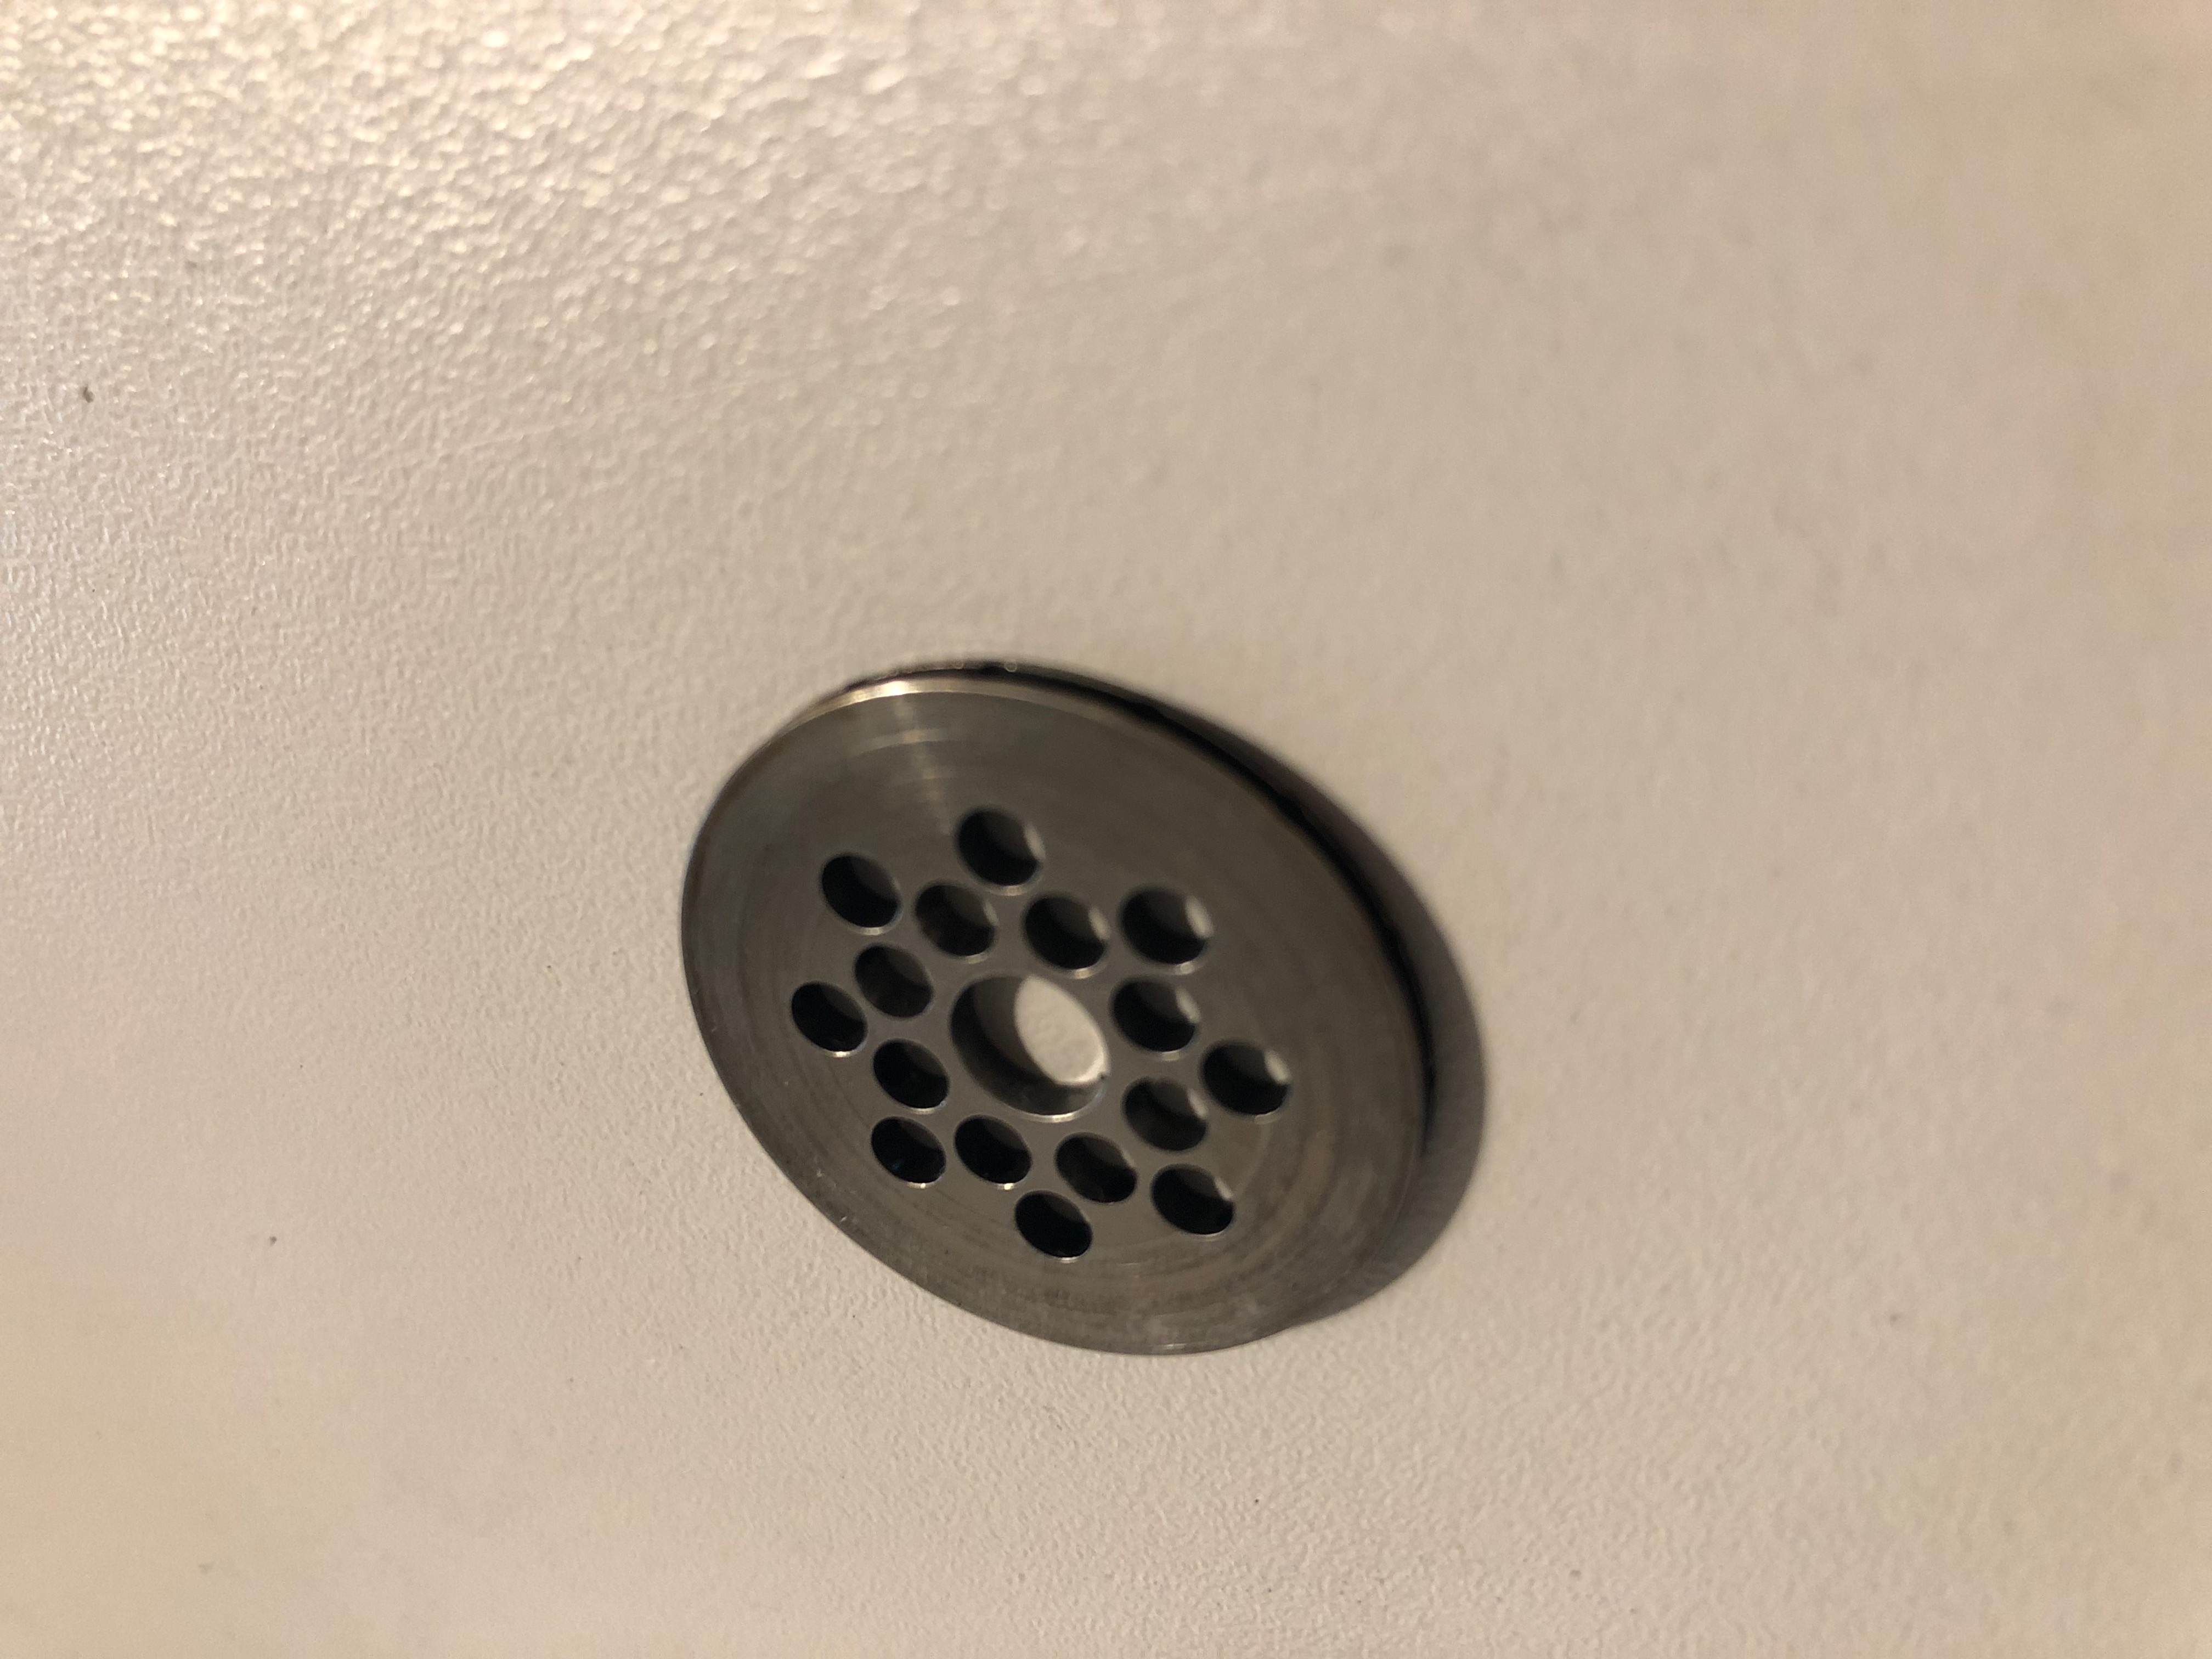
- Ventilated brake disc for more consistent braking during your run
- Lightweight brake disc adapter for weight savings on rotating masses for better engine performance
- Kevlar belt, softer belt for better transmission efficiency
- Aluminum drive shaft for weight savings on rotating masses for better engine performance
- Brake pad spring spacing to prevent brake pad contact at undesired moments
Note: I recommend using the standard yellow brake pad. It's simply with them that I have the best feeling between braking power and progressiveness.
 |  |  |
5th step:
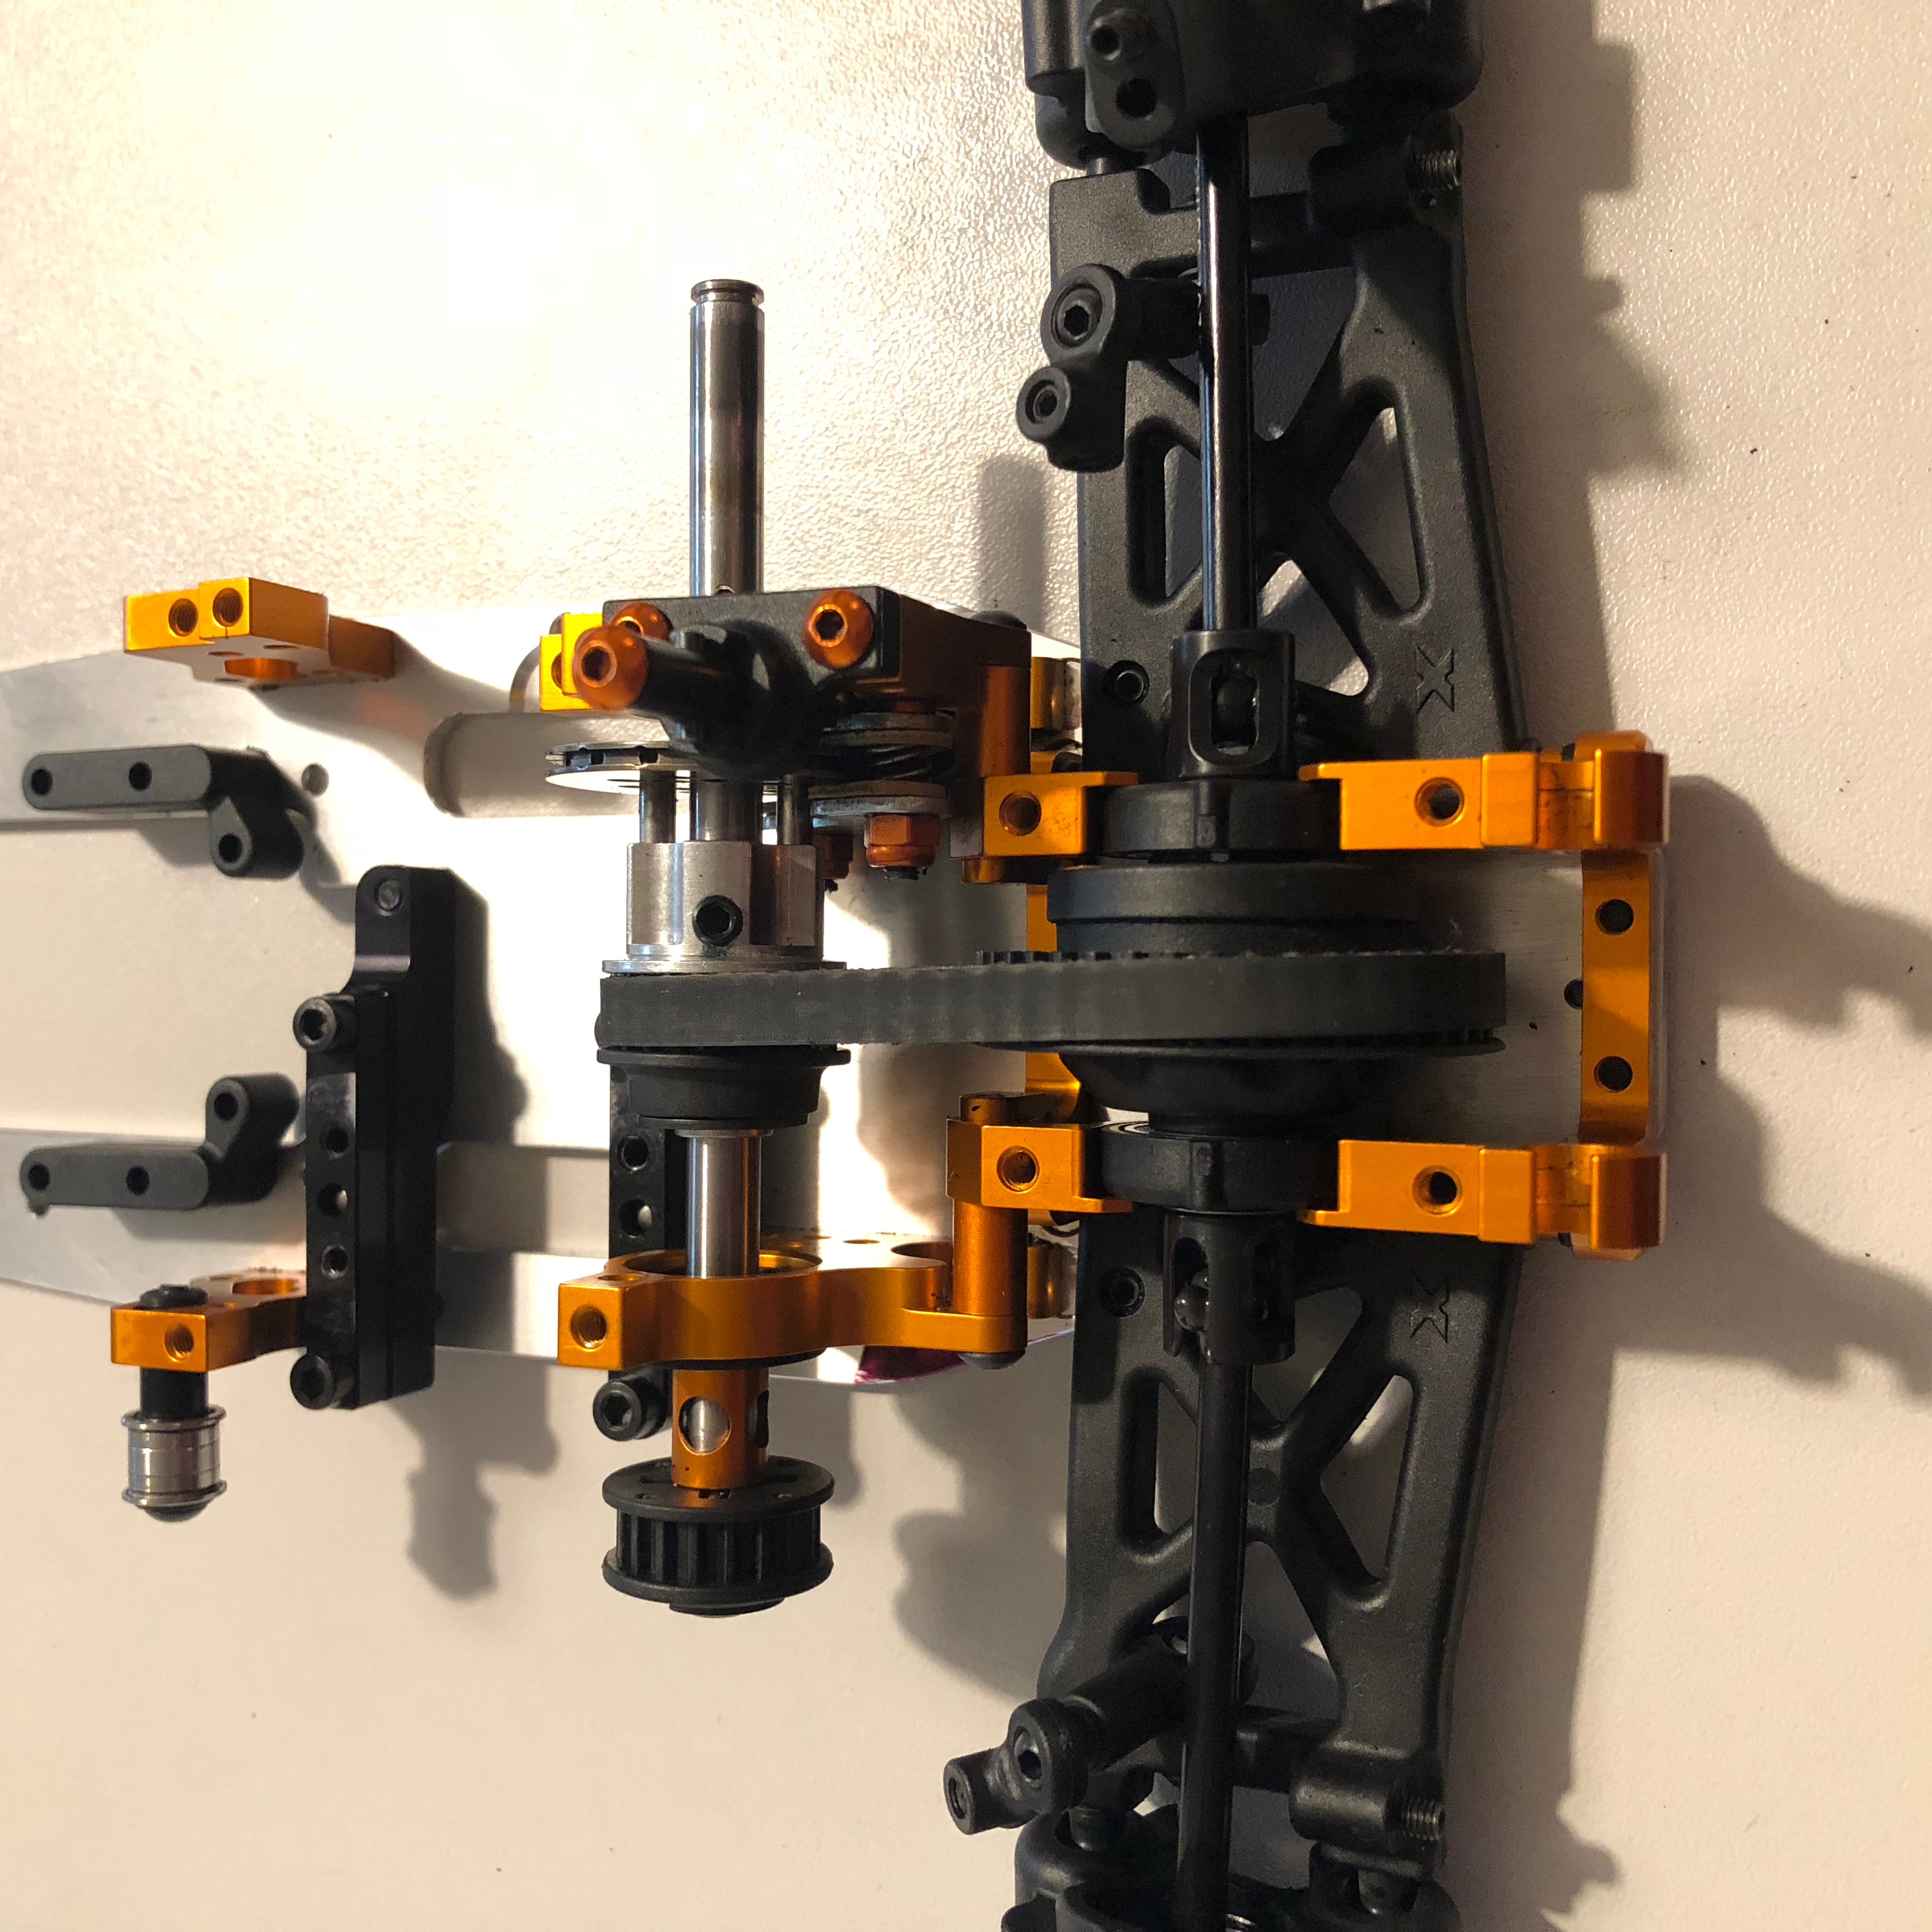
Reassemble the 2-speed shaft axle, the brake disc, the brake disc adapter and the rear belt.
6th step:
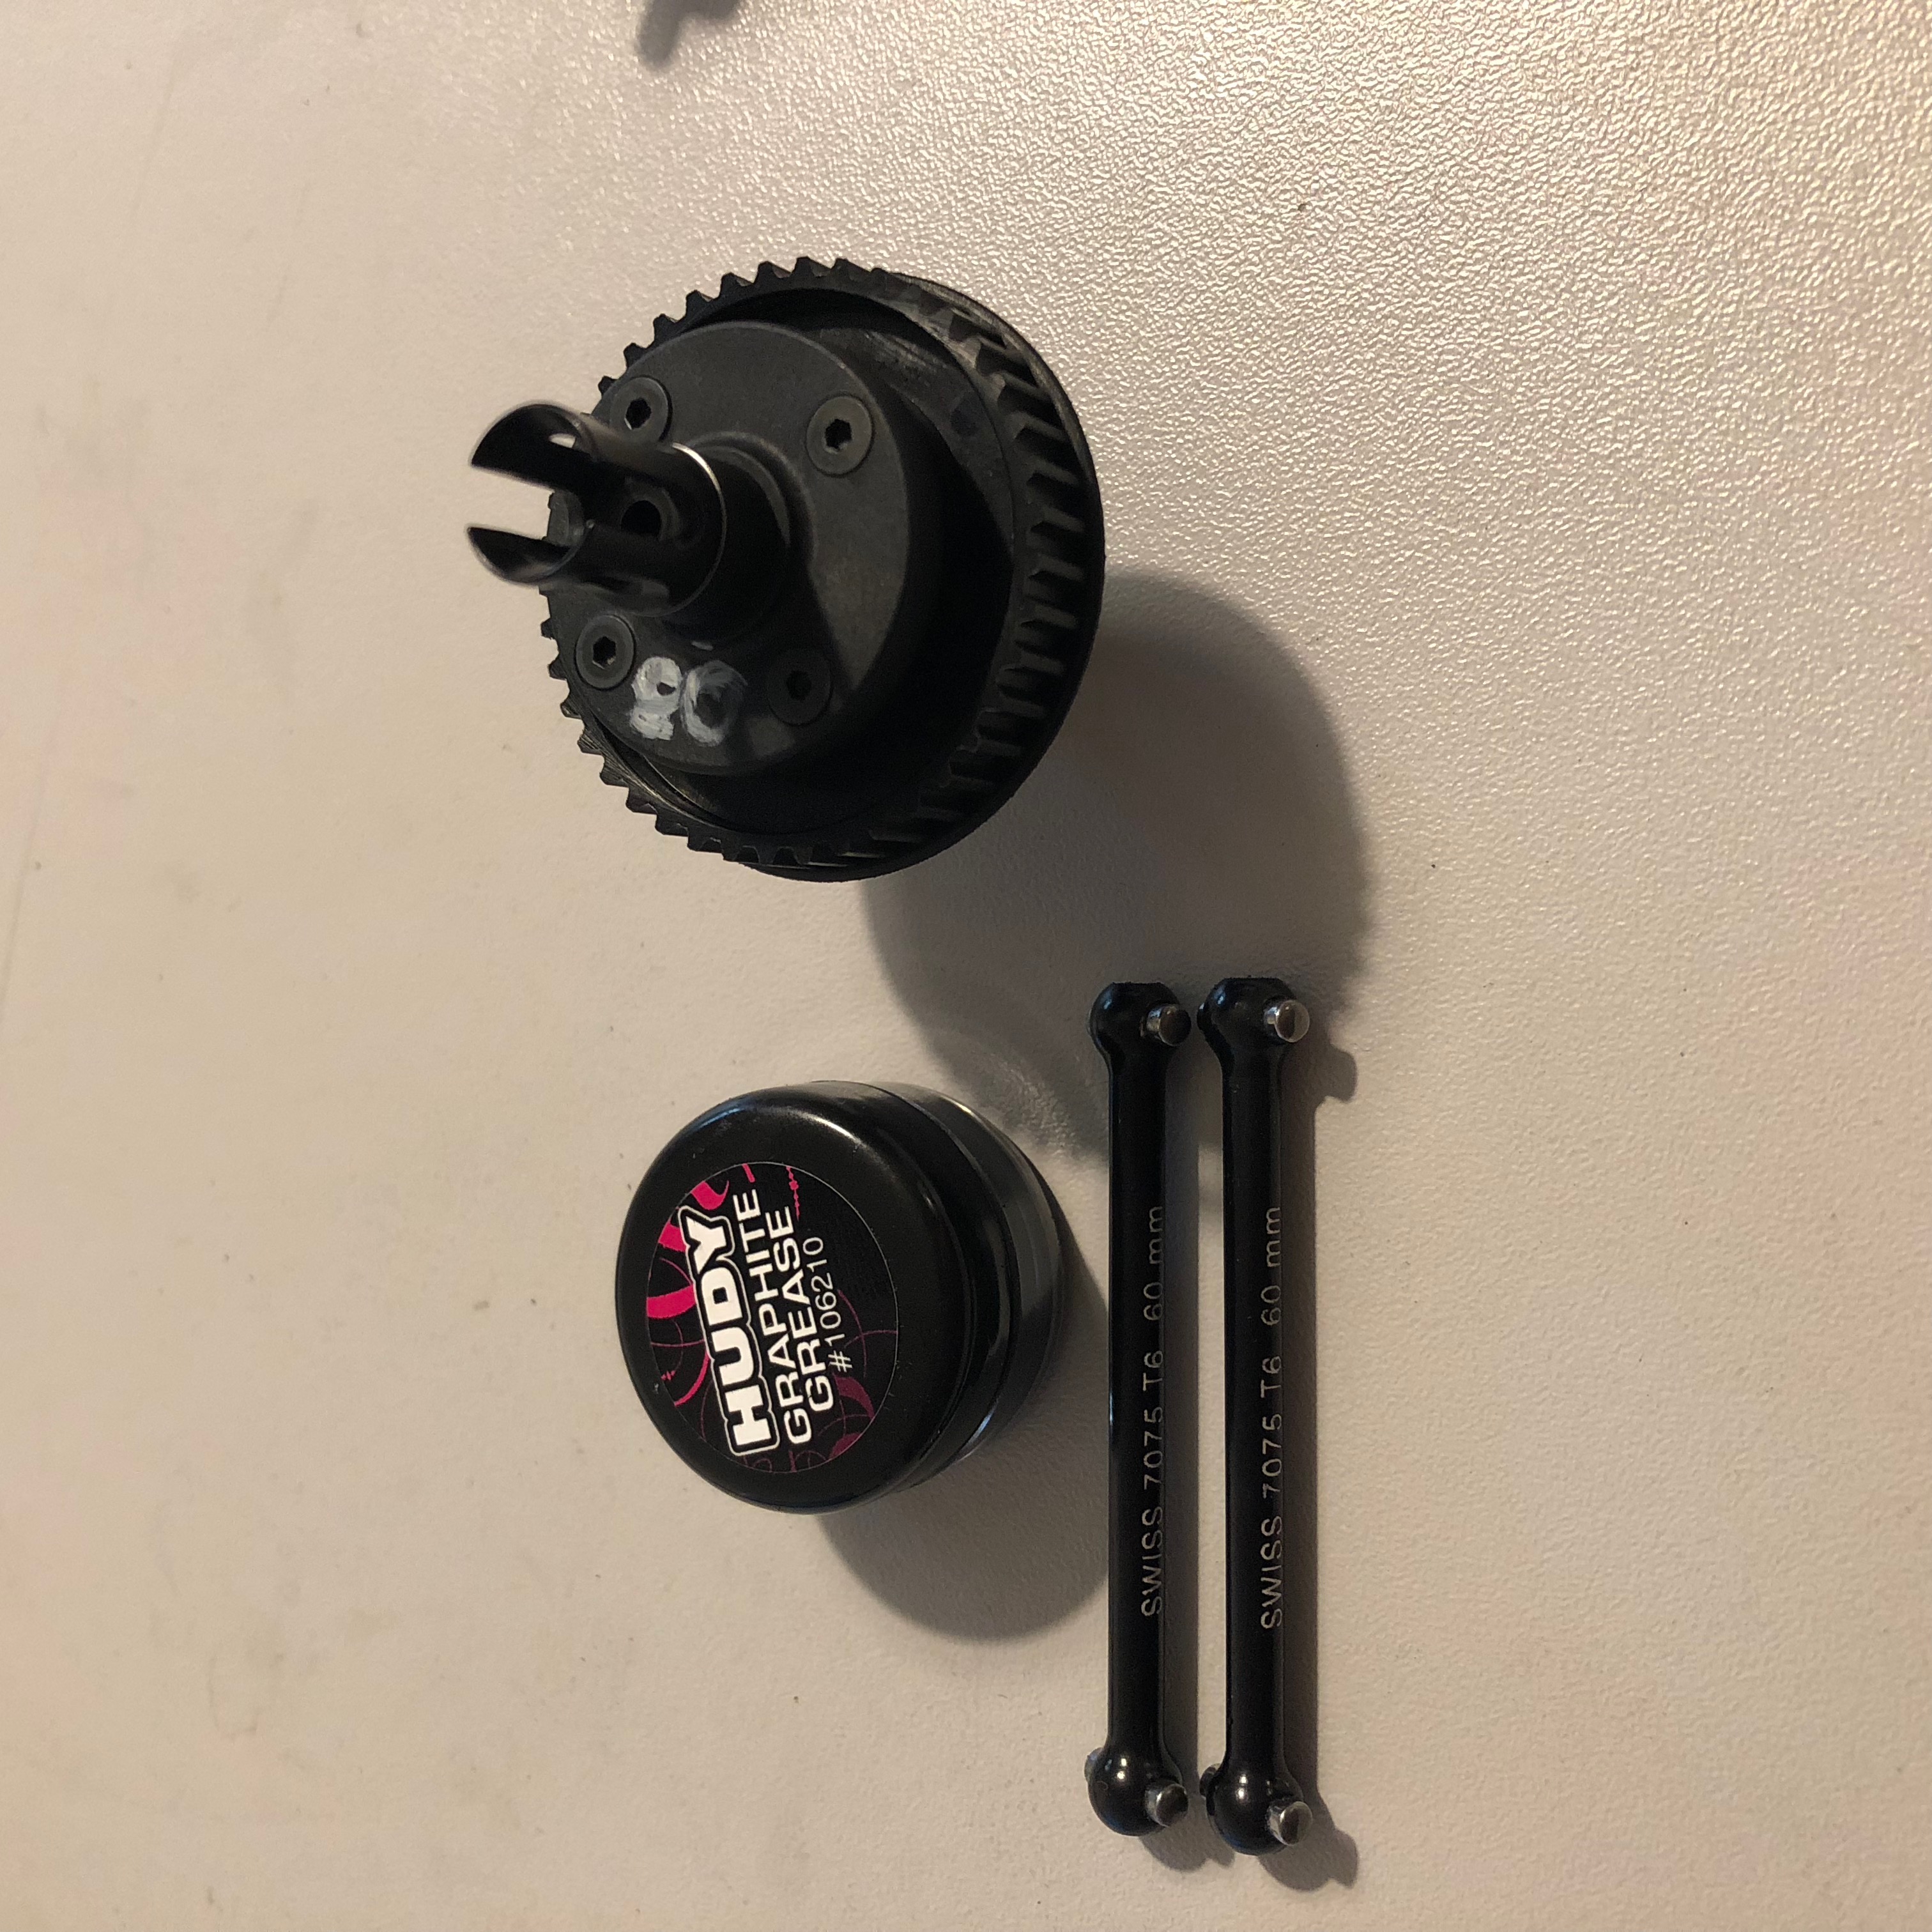
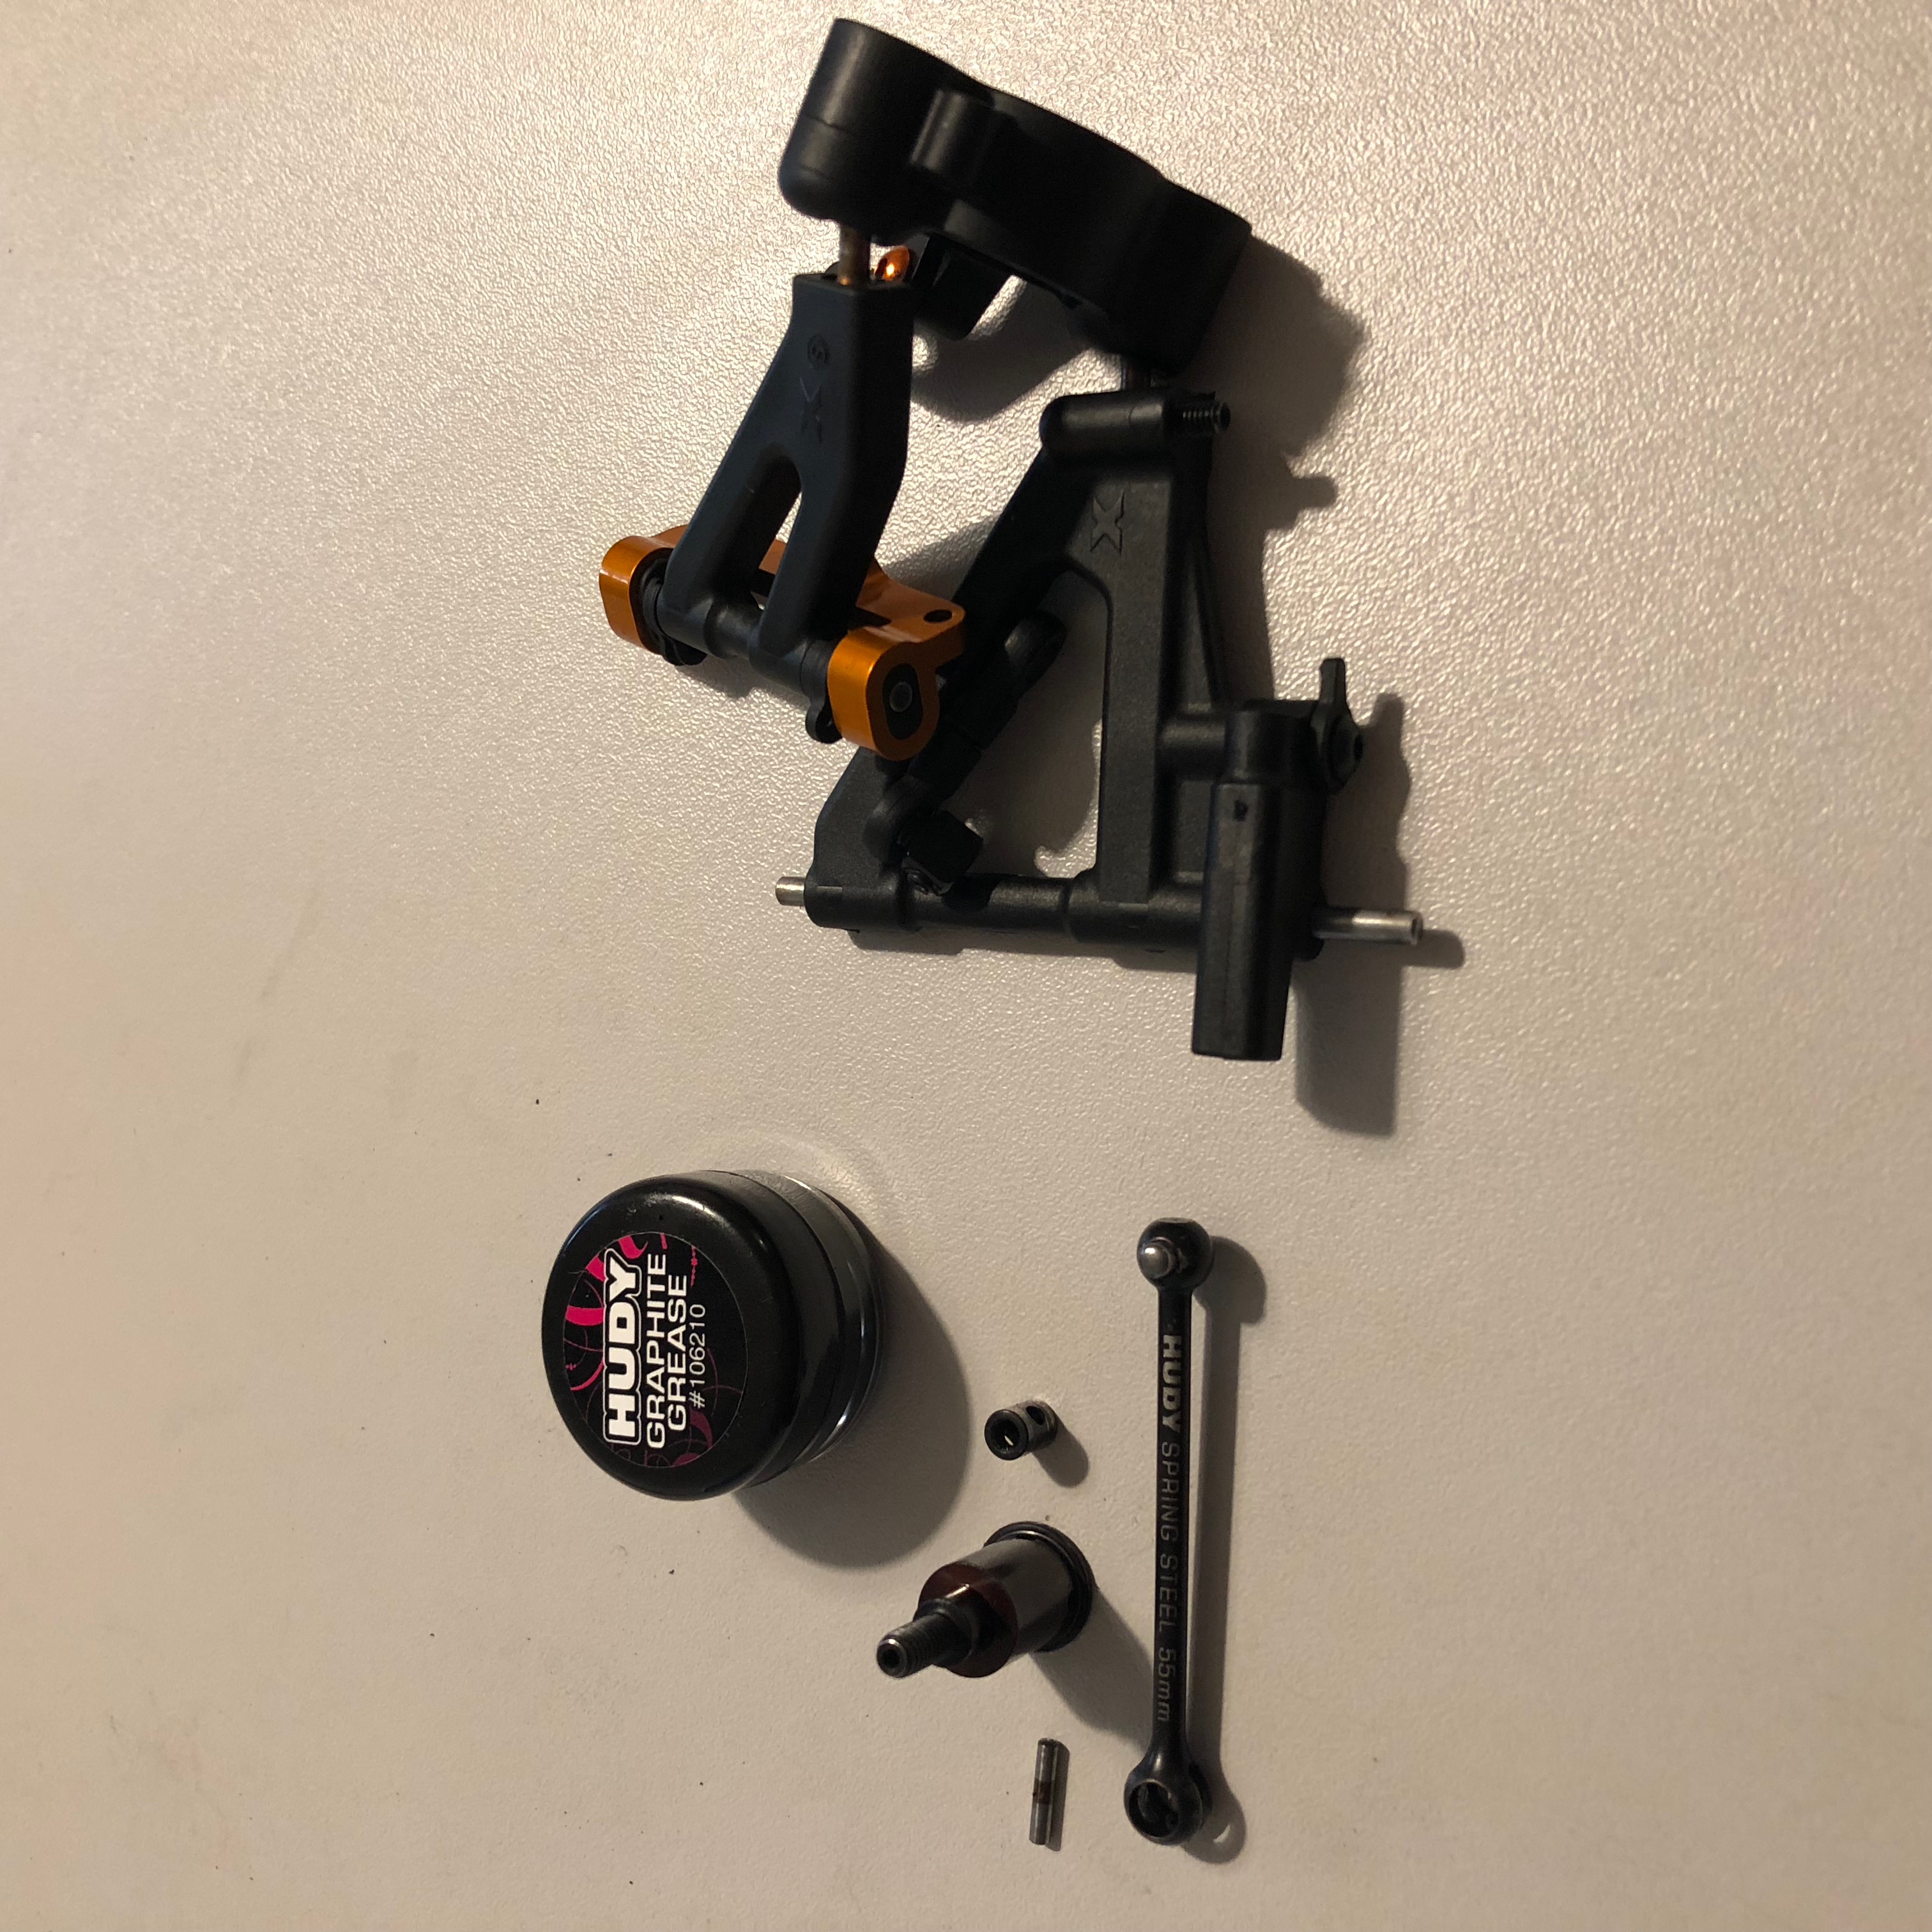
Mount the differential with the rear drive shaft.
Don't forget to grease the drive shaft pins with HUDY graphite grease.
This will limit the temperature rise between the spindle and the differential output and reduce wear.
Once the differential is in place, adjust the alignment of the belt with the brake disc adapter. On the screw of the brake disc adapter, use a red thread lock.
 |  |
Step 7 :
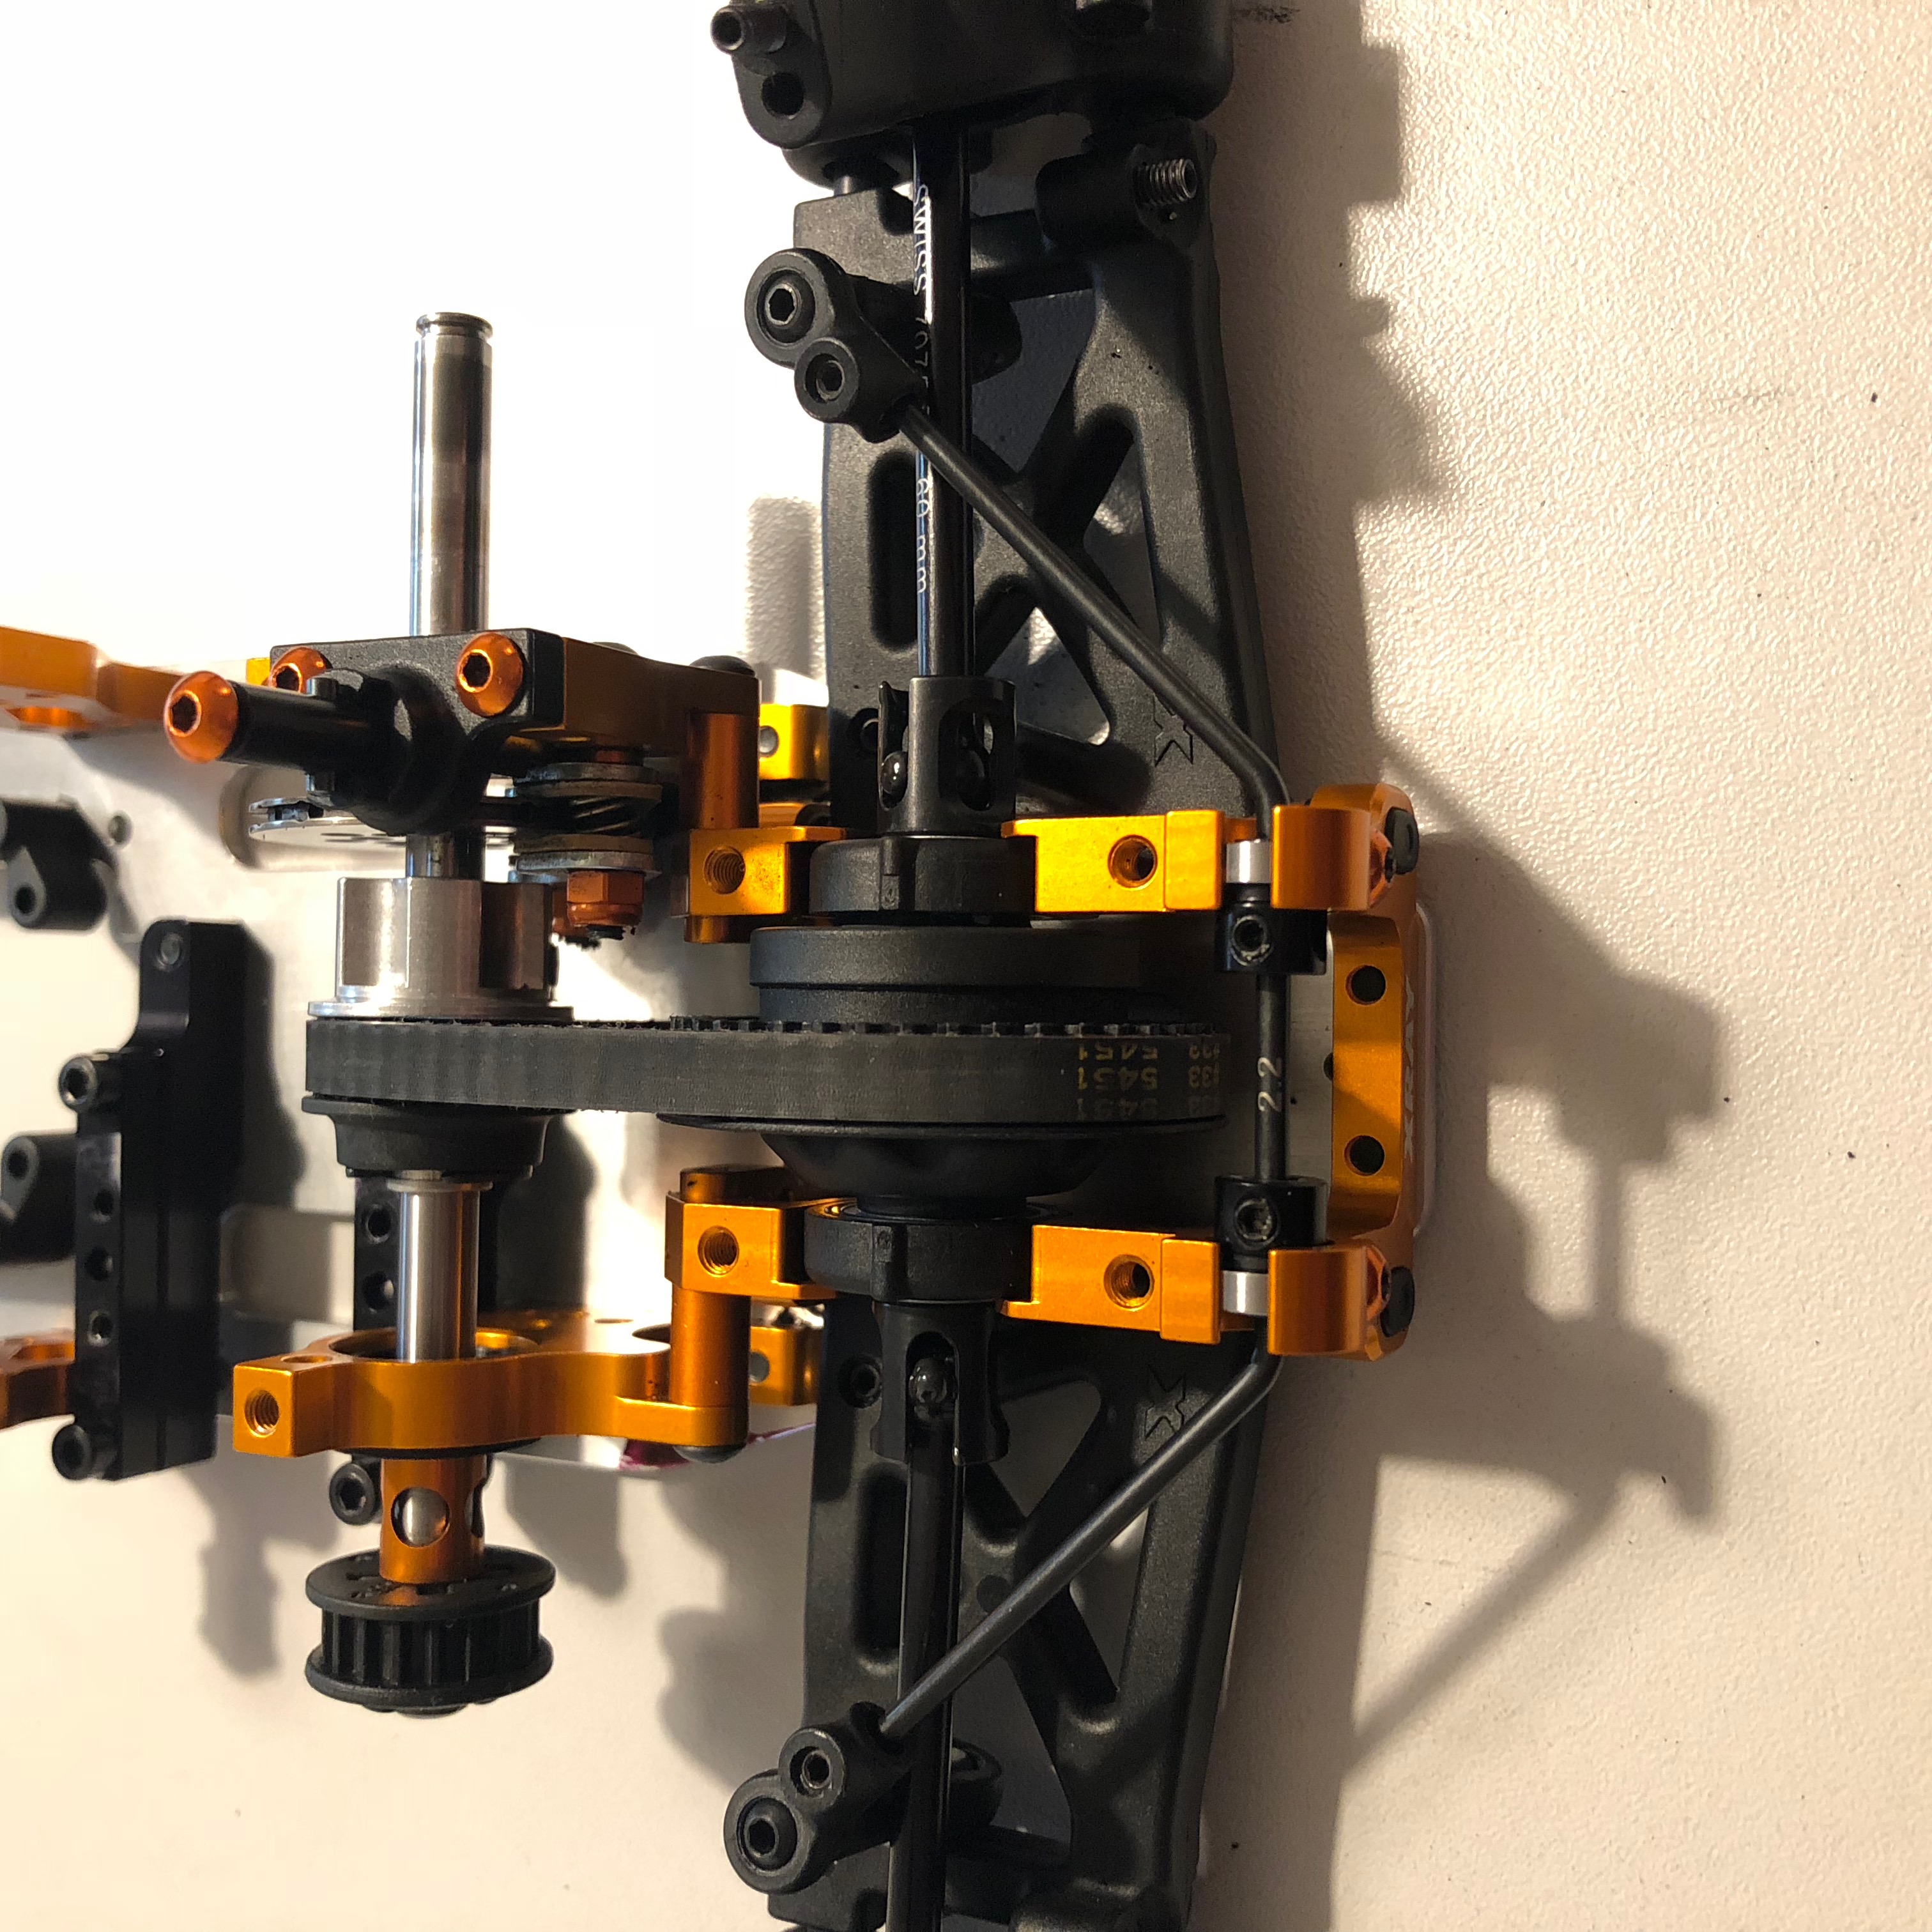
Mount the rear roll bar.
Remember to center the bar for symmetrical operation.
Then put the upper cells on and tighten while having adjusted the belt tension.
Usually, with Kevlar belts, I adjust my eccentrics to the center. The brooch is looking at the sky.
 |  |
Step 8 :
We are now preparing the gearbox. Degrease the gearbox and the 2nd gear bell to remove any greasy residue that could slip between the gearbox weights and the bell.
In one direction, use a dry cloth (no degreaser as it can spill dirt into the rollers) in the rollers to remove the dirt. And put a drop of Hudy oneeway oil.
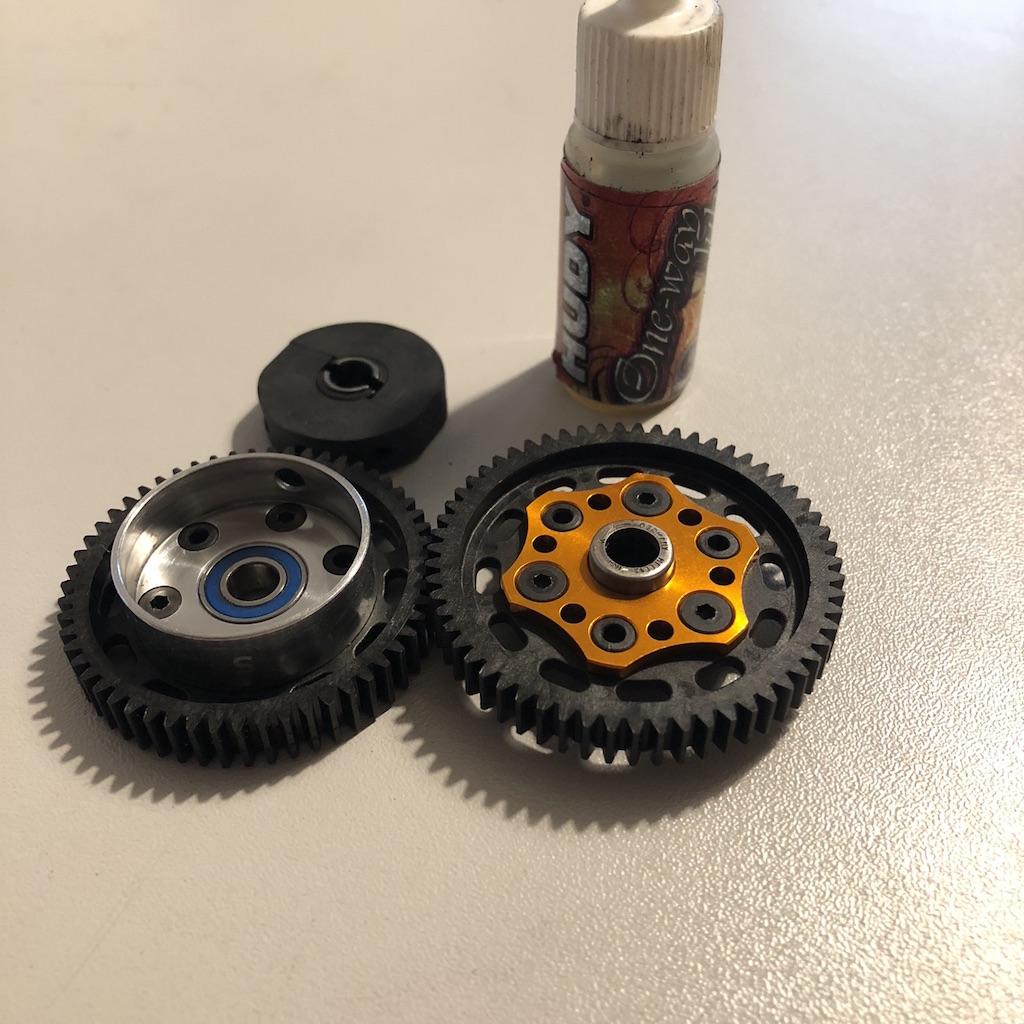
Step 9 :
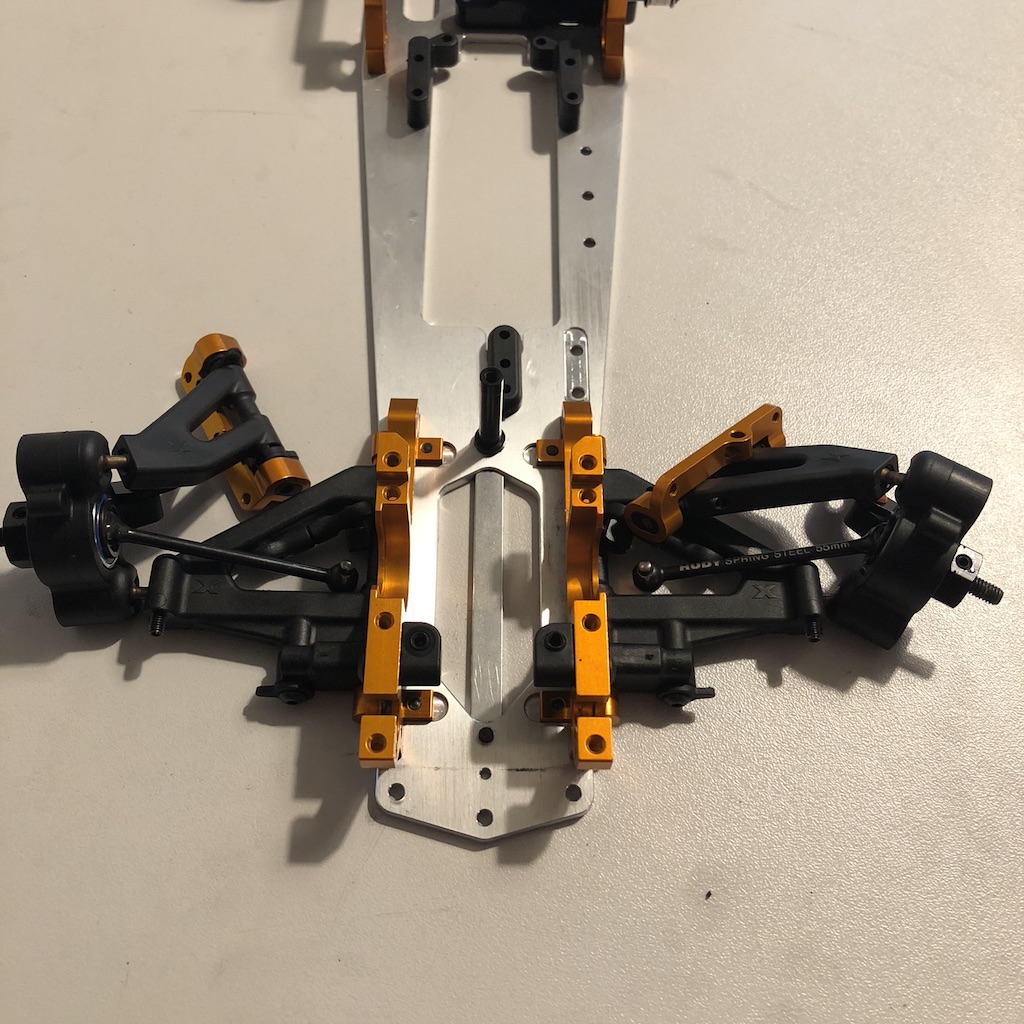
Same process as the rear axle for the front axle for play, movement and wear control.
Start mounting the front arms on the chassis and then the front drive shaft, remembering to use HUDY graphite grease.
Note: I don't put the BTR screw in the cylinder to lock the axle. In any case, the axle is blocked by the bearing and cannot get out. Moreover, if this screw loosens, it can block the drive shaft (personal experience).
 |  |
Step 10 :
Front differential assembly with central axle.
For the position of the eccentrics I advise you to put the eccentric between 1 and 2 notches forward to have the ideal belt tension setting.
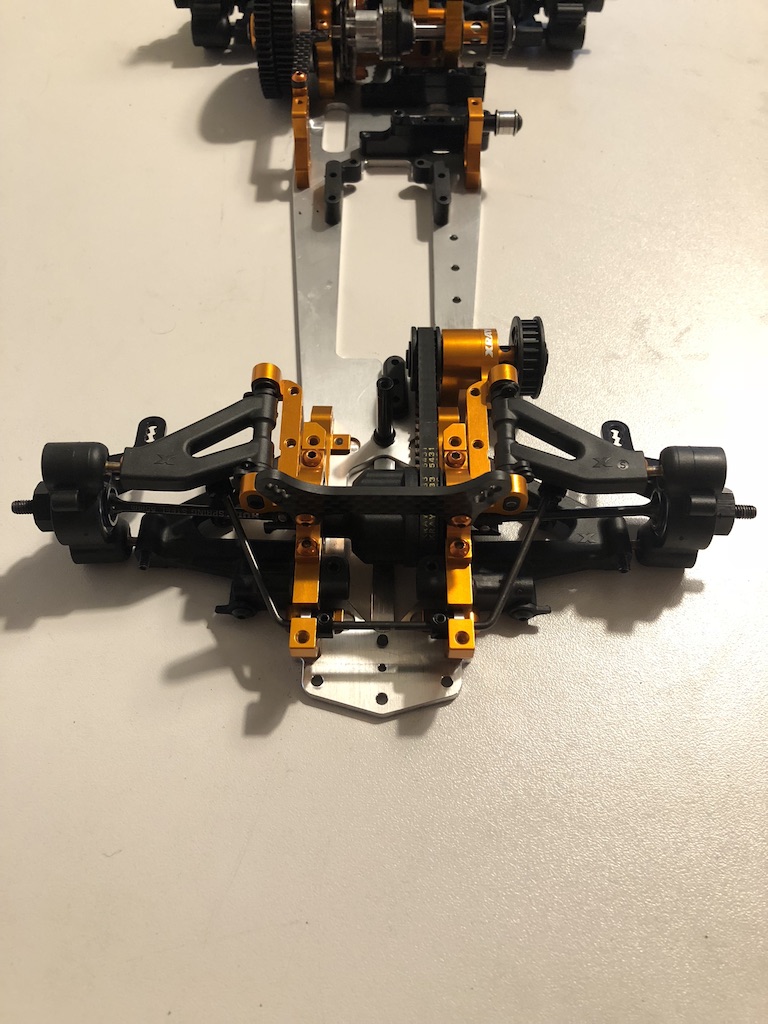
Step 11 :
We then put in place the upper bulkheads and the front anti-roll bar, thinking to put it well symmetrical in relation to the axis of the chassis.
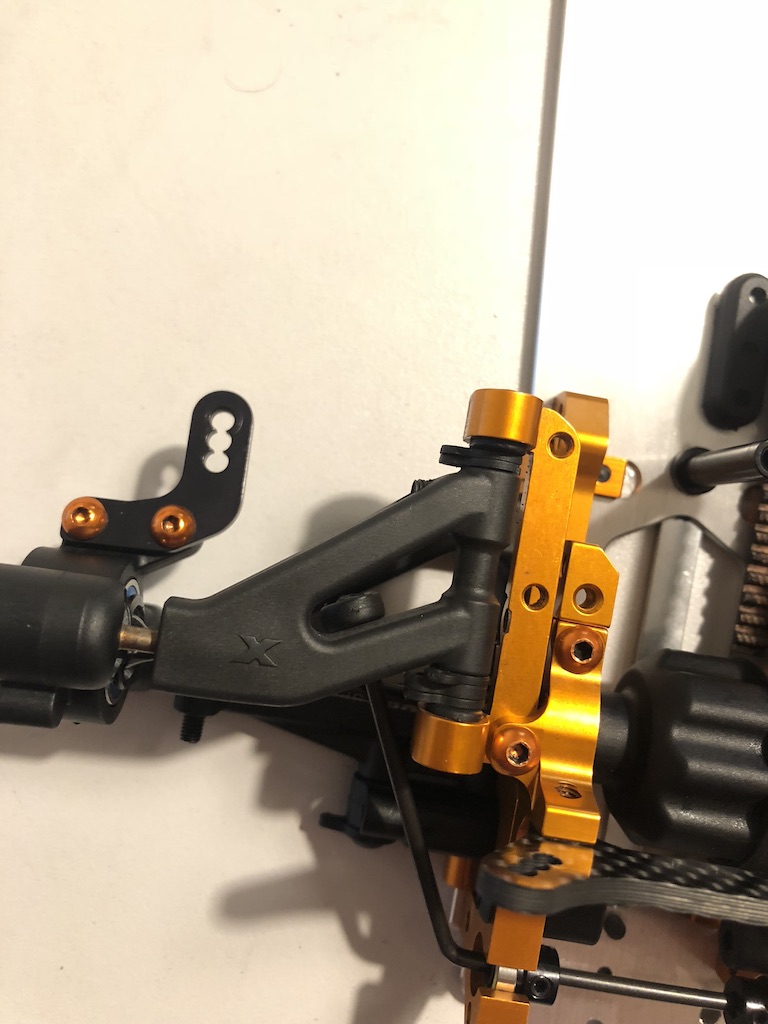
Remark:
To place the link of the anti-roll bar, place the ball joint in the hole of the upper front arm. When the arm is in operation, this will prevent the ball joint from touching the upper arm and thus reduce the suspension movement.
 |  |
Step 12 :
Let's talk about the battery plate.
I most often use the plastic plate which gives more flexibility to the chassis and therefore a more general grip.
It is also possible to use the brass battery plate on tracks with high grip to make the car less sensitive to traction roll and to have a less nervous car.

Thank you for following this first part.
See you in part 2 where we will see how to prepare the shocks and my method to adjust the car.